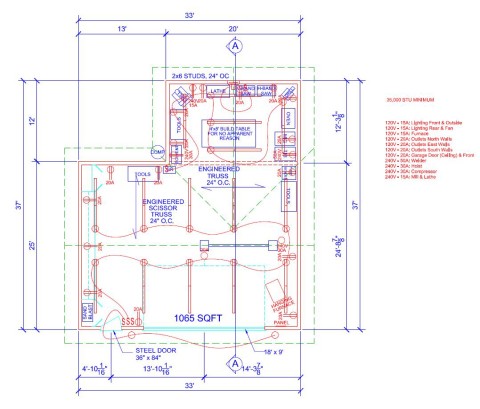
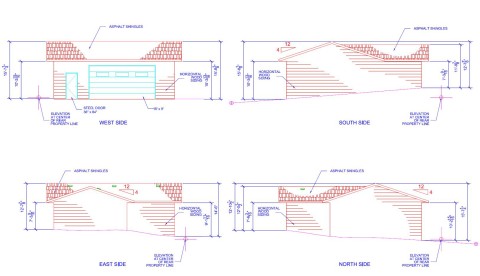
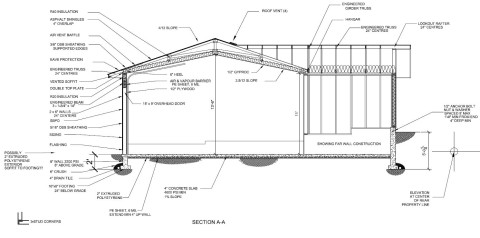
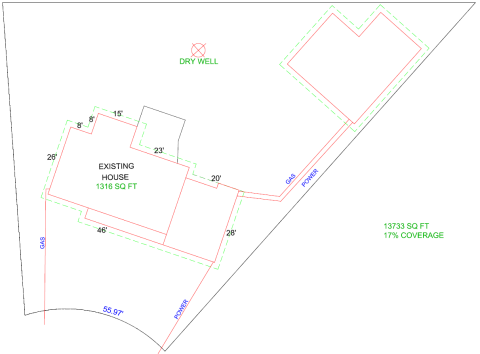
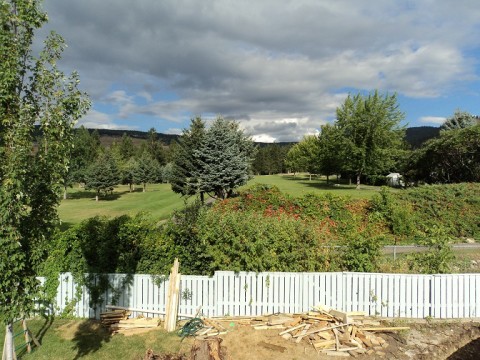
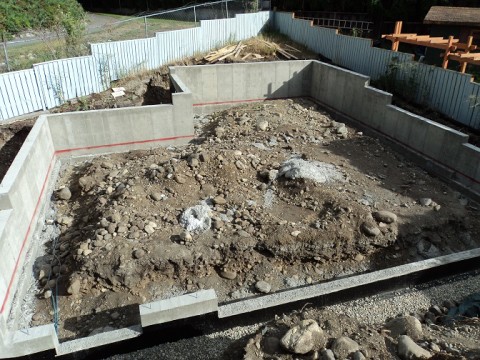
I’ve been planning this shop for so long, I began calling it The Fictitious Workshop.
The plan (after about four iterations, weighing all the pros and cons and limitations of each):
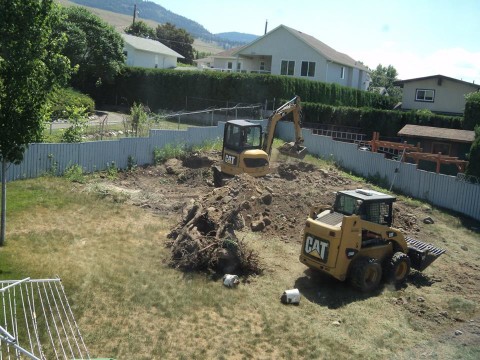
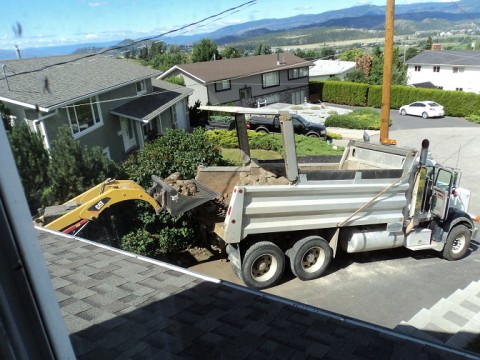
Pulling down one of the old sheds
Dropping the spruce.
Hmmm. Kinda wish I dropped that tree years ago. I like the space it opens up.
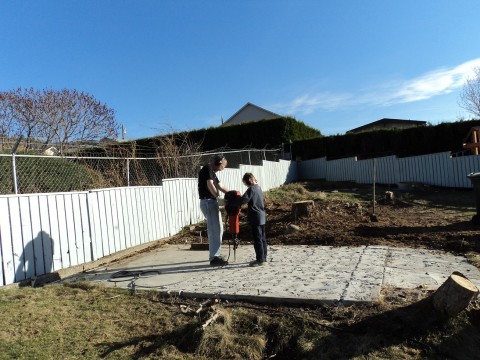
Busting up the concrete pad from the Green Shed
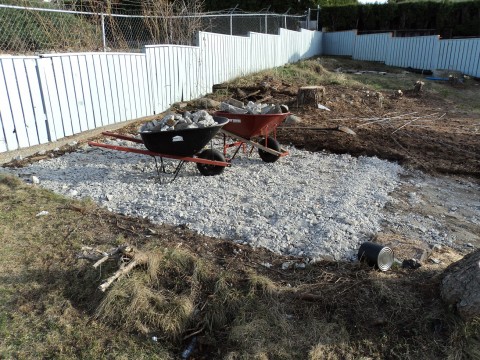
4500lbs of concrete to the dump, and still more to go.
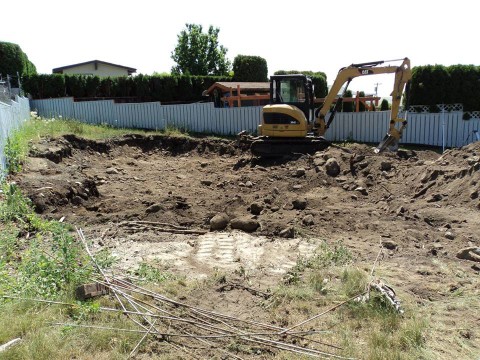
Finally. Digging. And rocks.
Day two of digging. Probably another two days to go.
It’s at times like this that I think “Oh my gosh. What have I done…….?”
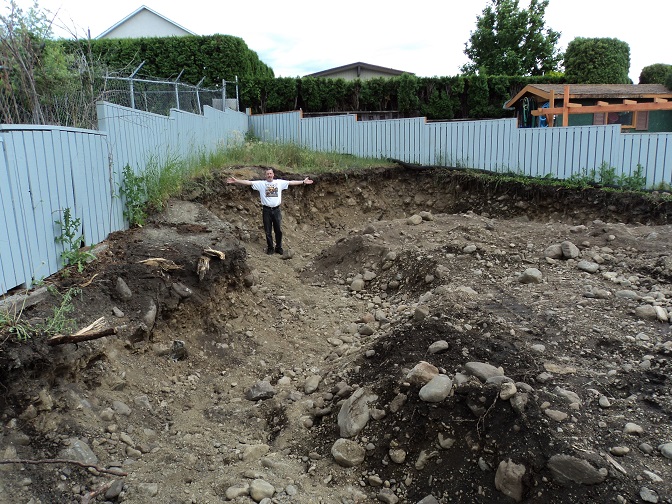
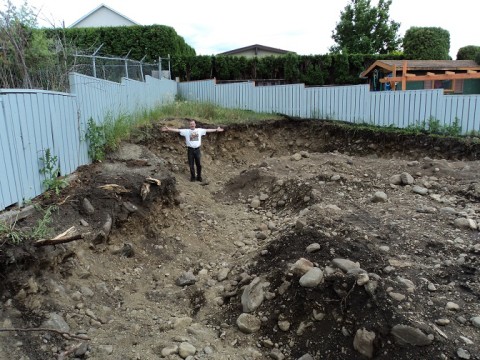
Three days of digging and the foundation is dug out.
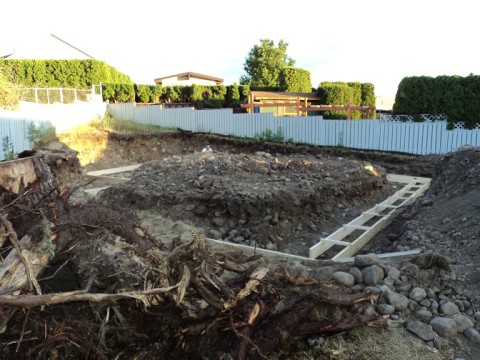
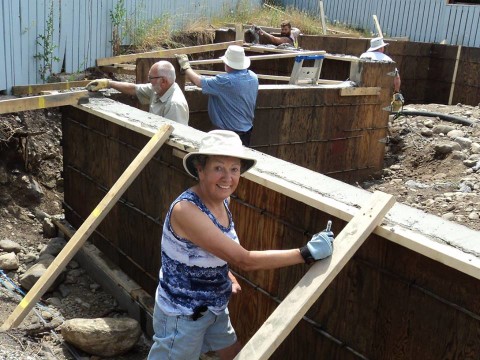
Starting the footing forms. 8″ is required. A workshop is never big enough. So…. I’m building as big as I can. That’s me…… at the back.
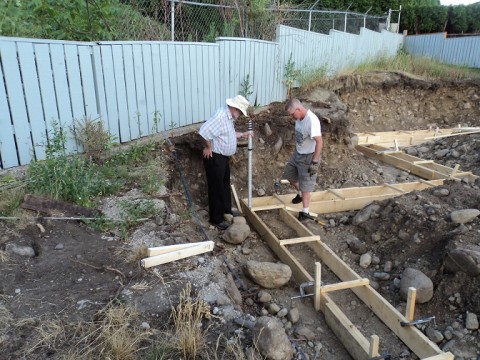
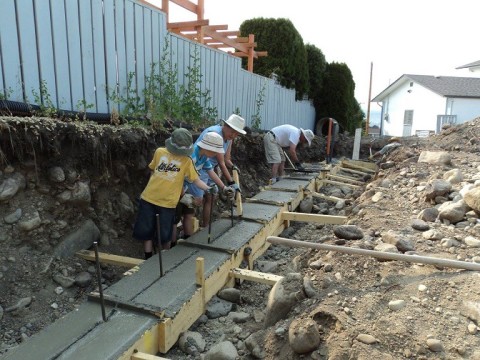
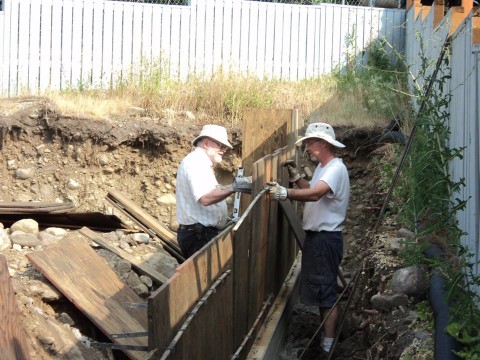
Pops and me leveling the forms
Concrete day! Only 38°C too!
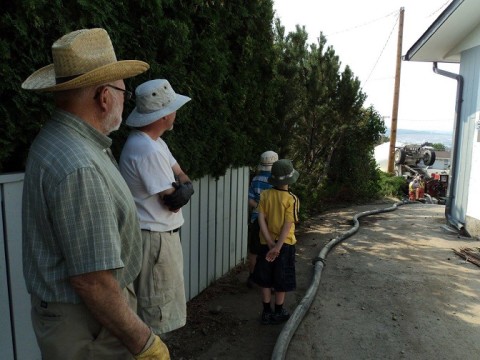
Pump Pro arrives, along with OK Ready Mix.
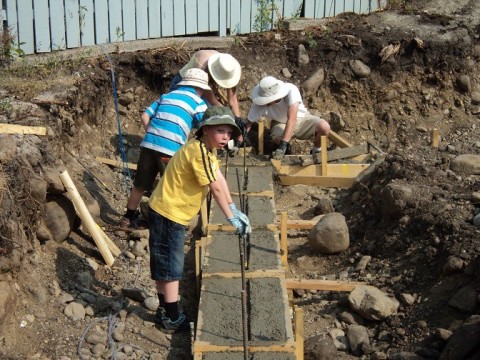
Working furiously to screed, key, and set rebar.
45 minutes and the job was done. As of this writing, I think I am physically dead.
As I understand it, no rebar is required. ?! I know, right? I put two rows of 5/8″ rebar inside the footings.
Pops and me setting up forms.
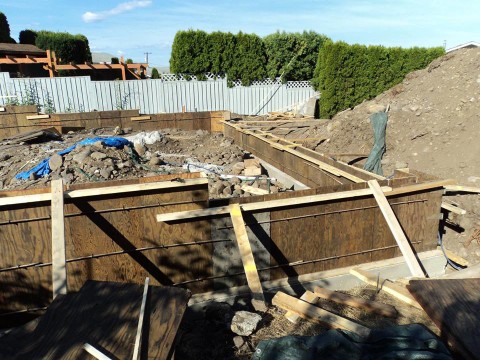
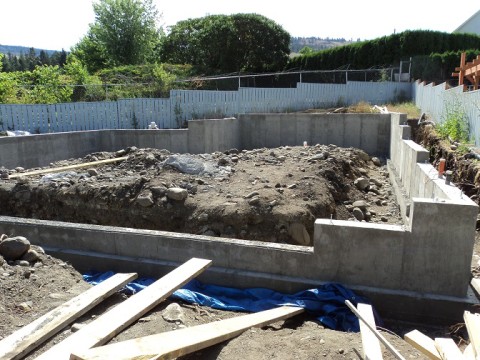
More progress:
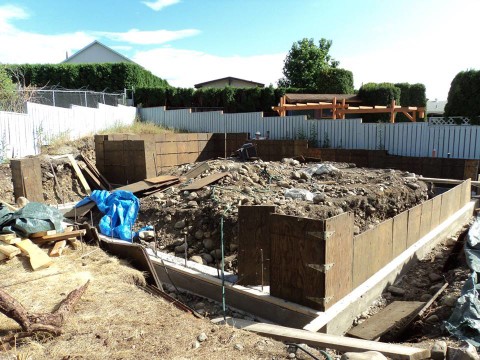
Passers-by ask if I’m building a pool. Yeah. The shallow end is the closest. That far end over there? That’s the deep end.
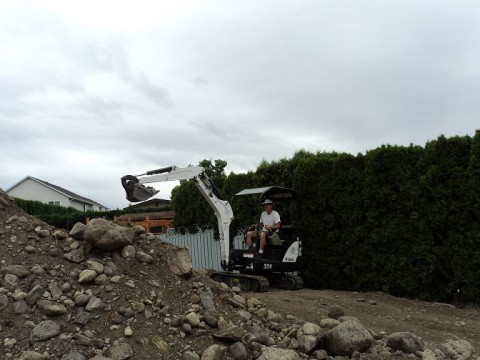
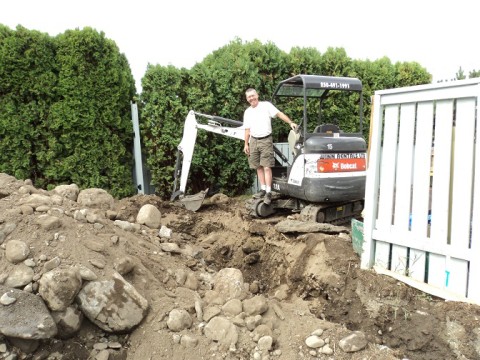
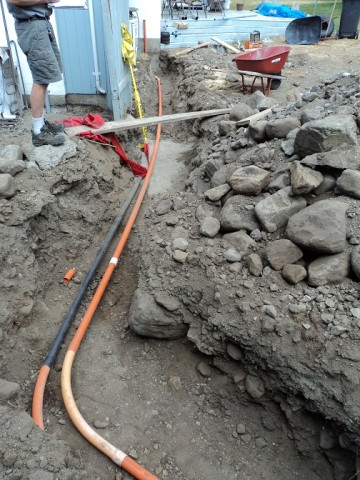
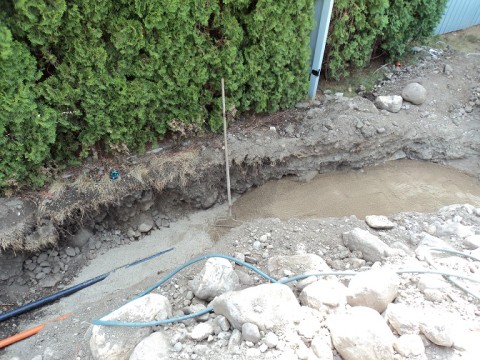
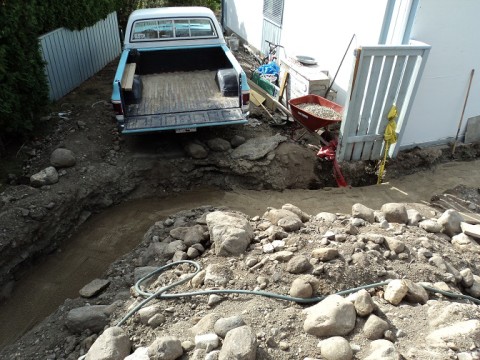
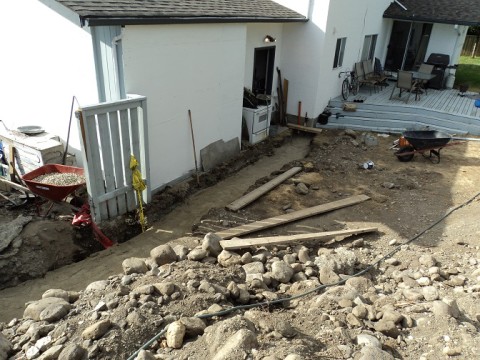
Need an exit trench for the drain tile before drain rock, need drain rock before inspection, need inspection before backfill. So… I rented one of these gems. Might as well trench for gas, electrical, and communication lines to the house while I’m paying for the rental.
What a workout! Four hours behind the sticks and this flabby-butt 40+ year old school teacher is beat. Got another hour to go…. tomorrow.
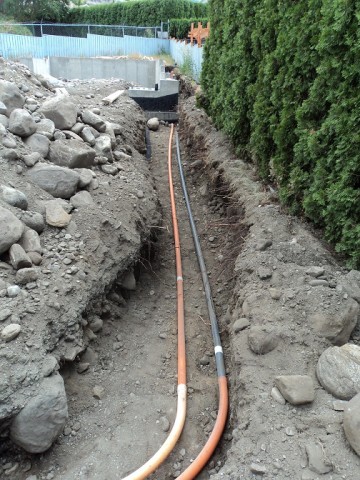
Conduit for power and communications. Waiting on gas line.
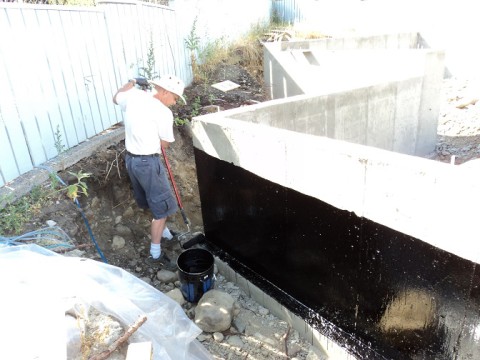
Two coats of damp-proofing was rolled on. Why two? Dunno. Seemed like a good thing to do. The can suggests two coats for maximum protection.
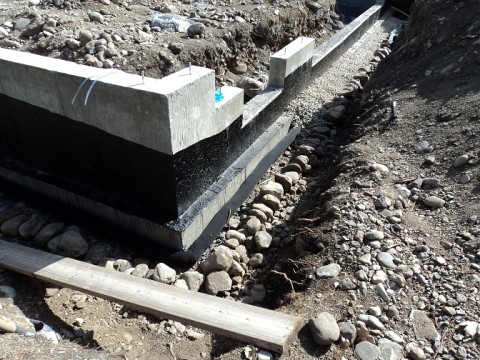
Drain Tile & Drain Rock
Drain Tile runs around the perimeter, then exits away from the foundation a distance of 15′. I dug the exit downhill, so that it would encourage draining. The Canadian Wood Frame House Construction book says that drain pipe ~should~ have a sock around it to prevent stuff from getting into the pipe. Home Depot sold some with a sock already on it, so I bought that. Pops says this soil isn’t going to be an issue enough to need a sock, but it’s a lot better to ~not~ have to put one in afterwards.
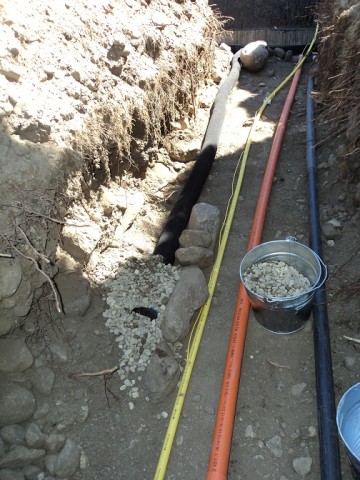
Drain tile exit has a louvered cap on the end. I figured this would help hold its shape better and not crush. Started covering with 1″ round drain rock from Pier Mac Sand & Gravel.
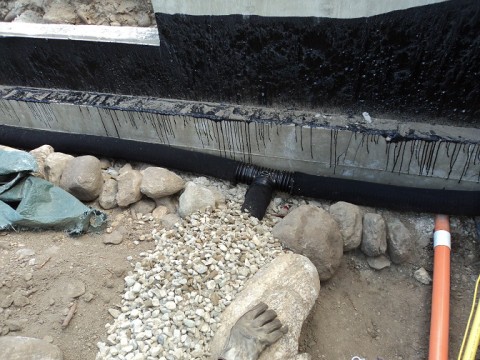
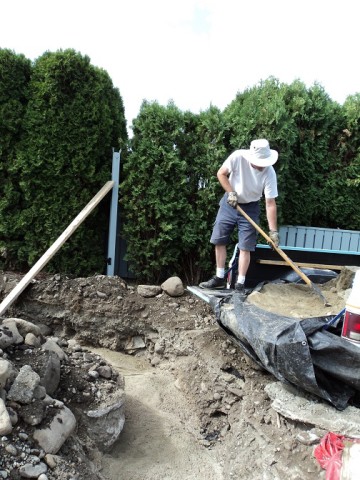
Dump truck won’t fit; Stone Slinger can’t reach; Bobcat can’t get in; drain rock is placed by hand.
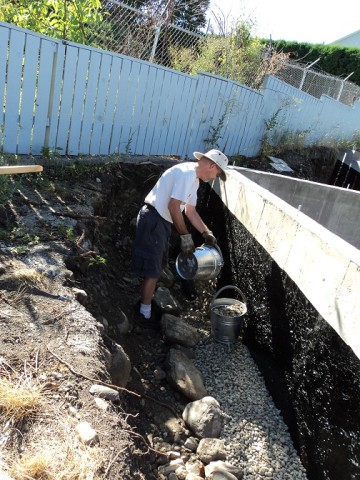
Yes. All the drain rock was placed by hand. Worked out to just under 10,000lbs of gravel all via a spade and two buckets. I think my arms are longer.
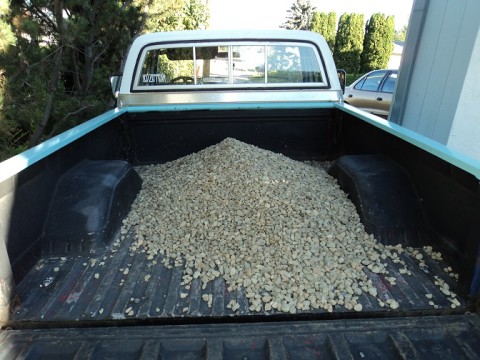
Turns out my lowered pickup is, well, too low. The shocks are bottoming out, and once I find shorter shocks, the pumpkin itself will then start hammering & re-shaping the bottom of the bed….
Filling the trench.
Lucky me – by this time I had already installed shorter rear shocks on The Crusty Chevy (73-87 4WD fronts), so I should be good to go!
The first load they dumped in my truck came out a bit quick. With 1700lbs in the box, the shocks weren’t bottoming out – but the box floor was now indeed sitting on the axle pumpkin. I drove gingerly back to the house.
I got 7 loads done today – 7600lbs of sand. Might be able to finish tomorrow.
View out back from the top of the dirt pile:
View of the workshop, again, from said pile:

