[Engine Performance] [Balancing & Blueprinting] [Boost & Nitrous] [Automatics] [Differentials] [Lifting & Lowering]
QUESTIONS – Blueprinting |
BALANCING |
|
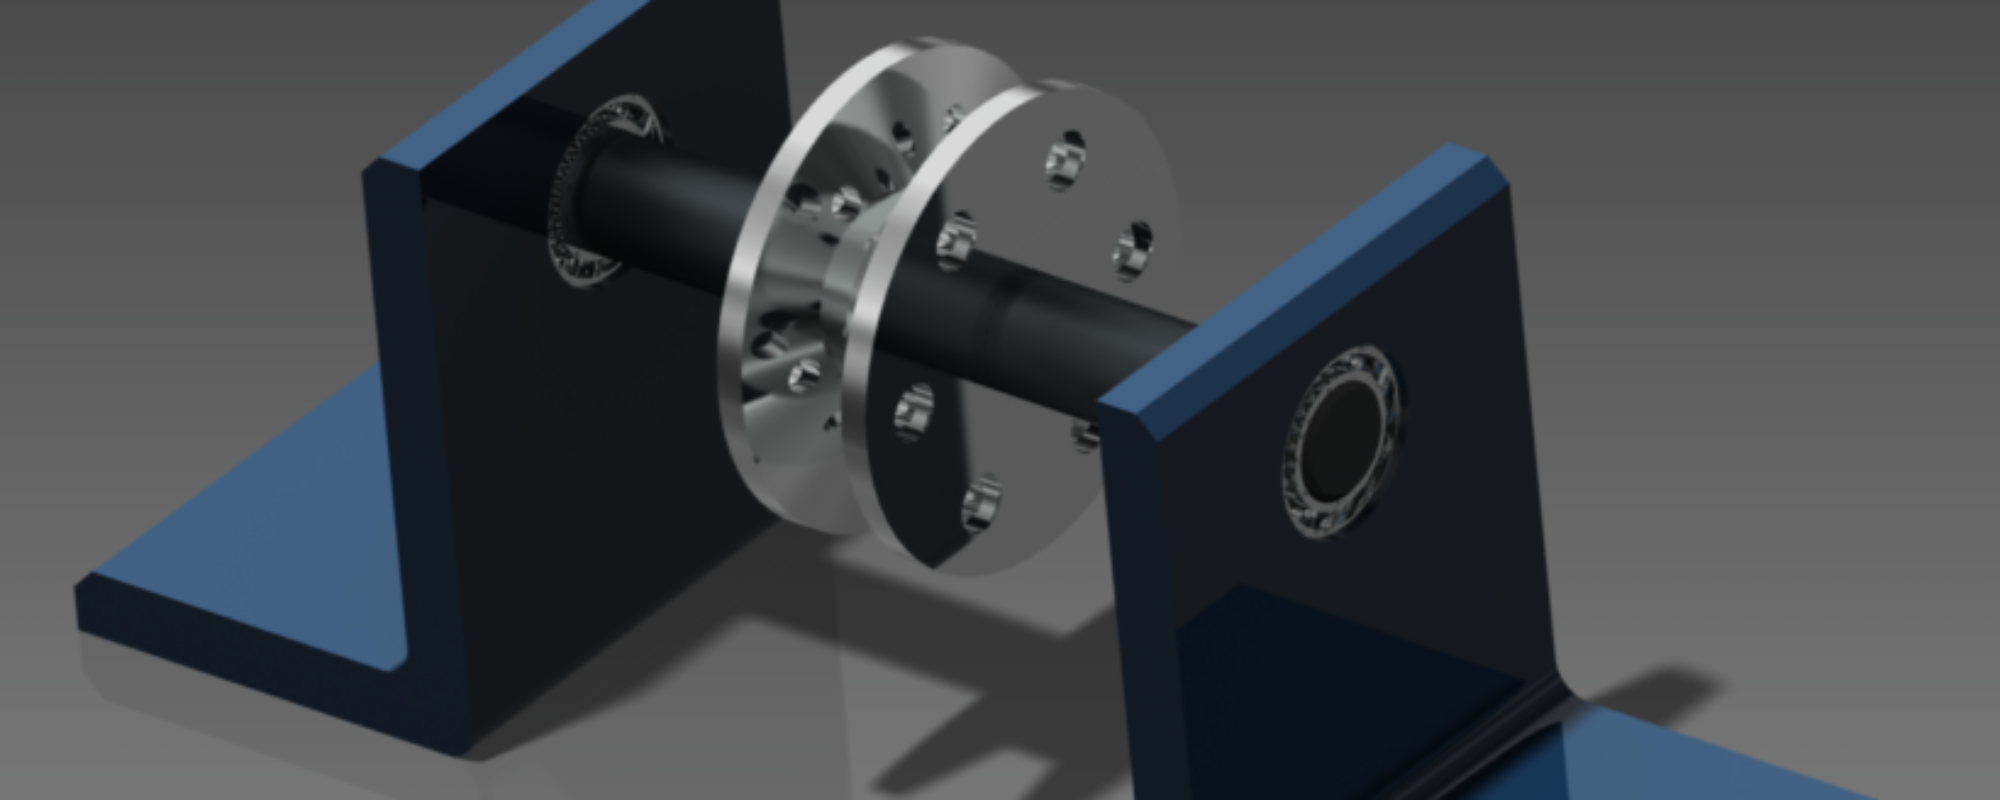
Balancing an engine involves carefully measuring the piston, pins and rods inside the engine block, and ensuring that all their weights are equal. The crankshaft counterweights are then adjusted (usually be removing metal) so that the engine will run as smoothly as possible. Have you driven a car with an out-of-balance wheel? The same unpleasantness is going on inside the engine. The piston engine is a horribly unbalanced device. You have a crankshaft that turns, pistons that stop and go in a line, and connecting rods that do both. There are forces inside the engine that could destroy the engine itself. AdvantagesSave on Fuel: Because of less friction of parts Reduces Friction (heat): Because the parts aren’t trying to run free Increases Longevity: Because of less stress on bearings and rods and pistons Increase Horsepower: Because of less friction of parts (Banks Power says “nope!”) More Consistency: Because of less “harmonic vibration” Smoother Operation: Well duh Lower Chance of Fluid Leaks: Because rotating parts stay seated on their seals Lessens Component Failure: Because of reduced stress The cost of balancing is around $300, and when you look at all the advantages of balancing, it is well worth the extra cost. |
Process |
|
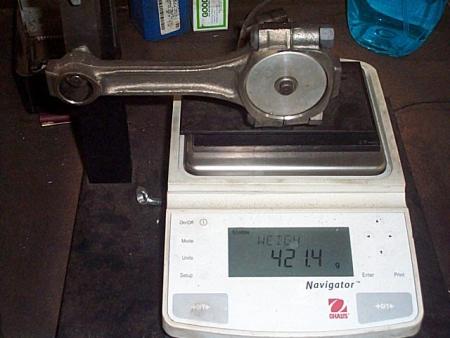
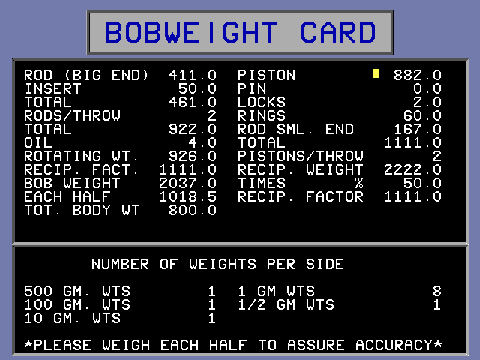
First, all machining (boring, turning, etc) must be done before balancing, as these operations can change the finished balance. Next, all the components are carefully measured, and the lightest of each noted. We will match all the parts to the lightest weight, as it is easier to remove material than it is to add it. PistonsMachine from the bottom of both pin bosses, not the bottom of the piston head (making the piston head thinner is dumb; you need that material for strength) Wrist PinsMachine from one end (this makes the wrist pin shorter in length, but that’s ok – you center the pin when you put them in) Connecting RodsBig ends and small ends are measured separately. They require special fixture to do this. There is usually a casting tab on both the big and small ends for balancing. Most racers will remove as much of the balance pad as they can for lighter weight. Once you have balanced all the pistons and rods, you must select a “Bob Weight.” A “Bob Weight” is the “simulated weight” of the piston and connecting rod as seen by the crankshaft (the big end of the rod rotates, but the piston and small end reciprocate). Different engine balancers use different methods for determining exactly how much the Bob Weight should be. If you are taking only your crankshaft to the shop, give them ALL your numbers, so they can do their own calculation.
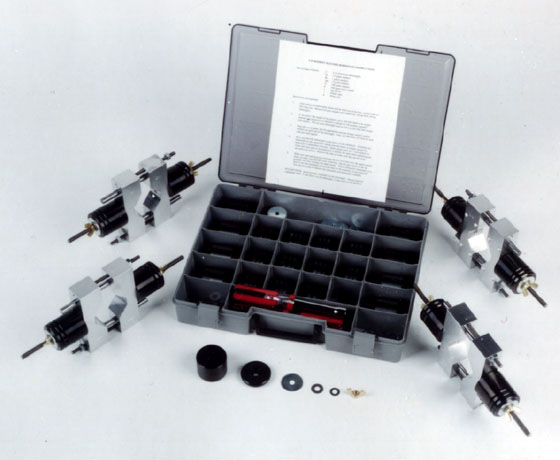
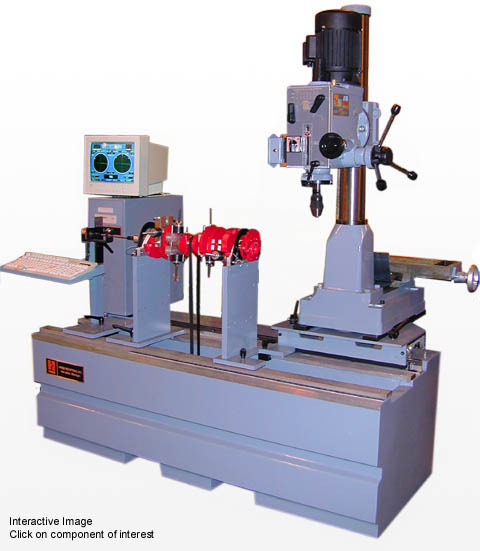
Once the Bob Weights are selected, they are attached to the crankshaft rod journals, and the crankshaft is mounted in the balancer. Most balancing machines have a milling head attachment, making it easy to machine the counter weights.
Drilling material out of the the crankshaft counterweights is the most common method to remove weight. Welding can add weight, and special machining to add heavy “Mallory Metal” is used in extreme cases. The last engine I had balanced cost $300 to balance the crankshaft, eight rods, and eight pistons. I’m not sure I noticed a difference. It all depends on how bad it was to begin with. Or how good the machinist is Inline 4-cylinder engines do not use any “bob-weight.” The pistons, pins, and connecting rod ends are still all matched to each other. But the crankshaft is balanced to “zero” all by itself. For my next project car (begin summer 2025), I will be building a 2.0L Ford Duratec engine. I will be lightening and “knife-edging” the crankshaft (see “Engine Performance“) in an effort to make it rev like a crotch rocket.” Since I need no “bob-weight”, I can make the crankshaft very light.
|
BLUEPRINTING |
|
Blueprinting an engine involves selecting and accurately machining every part and every surface of an engine to exact specifications. Blueprinting an engine is often talked about in racing circles and around friends who want bragging rights. Outside of racing, an engine that is said to have been blueprinted rarely truly is. Blueprinting is A LOT of work which costs A LOT of money. Since the engine block is the foundation, we must start with it first. |
Engine Block |
|
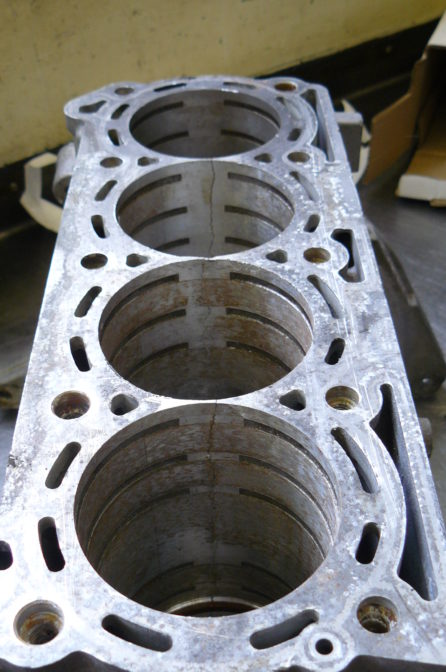
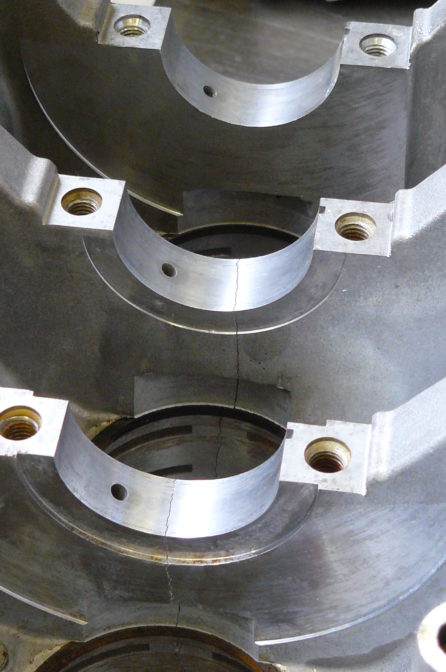
Every part of the engine references the block. In order for everything to work perfectly, the block has to be perfect. Strangely, some castings are better than others. When choosing a block, you want to first pick a “seasoned” block. That is, one that has a few years under its belt as a street engine. This ensures that through years of heat cycling (hot, cold, hold, cold…) all the internal stresses have worked their way out. This is similar to annealing steel to make it soften or relax it. (“annealing” relaxes and reduces the stresses inside the metal). A seasoned block will remain more dimensionally stable than a “green” (never-been-used) block. The second thing you want to inspect the block for is core shift. When an engine is cast, a “core” is placed in the mold to provide cavities for things like cylinders, water jackets, bearing journals, etc.. We want these cavities to be as accurately located as they can be. The Chevy 4-bolt main 350 casting number 3970010, for example, is one such block that was well made. The cylinders, cam bearing bores, and everything, is well centered. A shifted cylinder bore may limit how large you can overbore it, produce cooling problems, or even fail under load. A shifted camshaft bore may cause cam timing errors, distributing air and fuel unevenly to the cylinders. Once you have selected your block, then begins the machining process. A “good” engine likely will not need all of these processes done, but the option is there. CHEATERS A friend was building a Suzuki Swift for hill climb racing. These engines came with a 1.3L 4-cylinder. He wanted to build a “cheater engine” by using the Samurai 1.6L engine block, but sleeve the block for a huge over-bore (to turn it into a 2.0L). Each time he bored a block out for the sleeves, the engine blocks cracked in half. Removing so much material removed the internal stresses in the block, and the block failed He went through a number engine blocks, but never successfully sleeved the cheater engine.
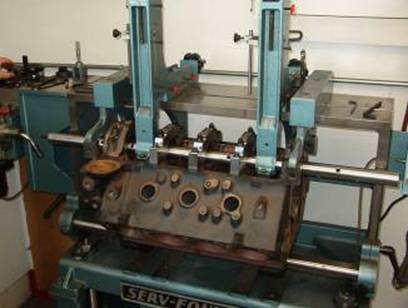
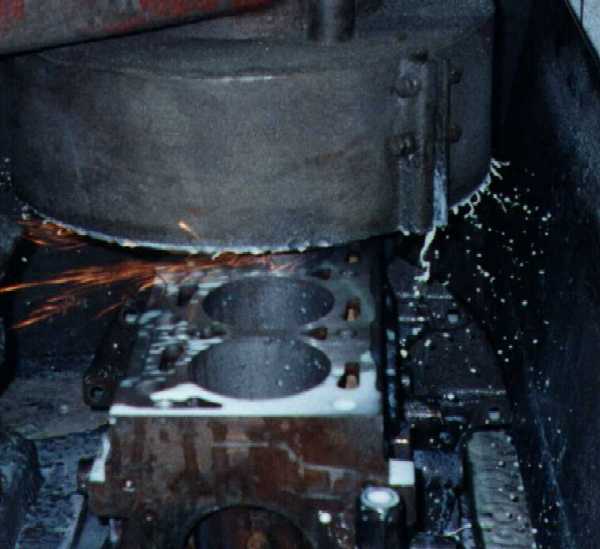
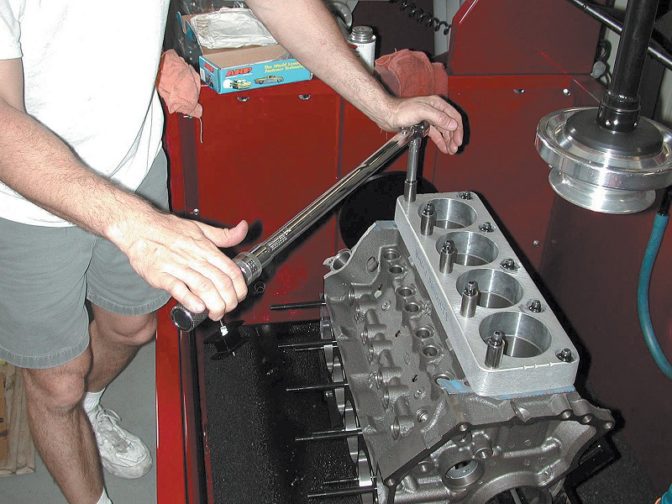
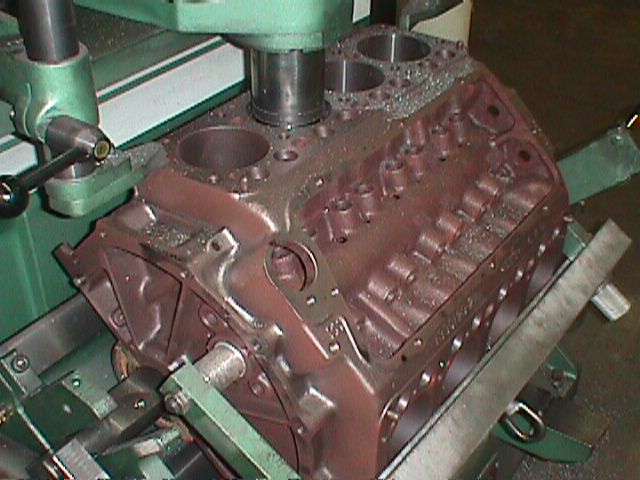
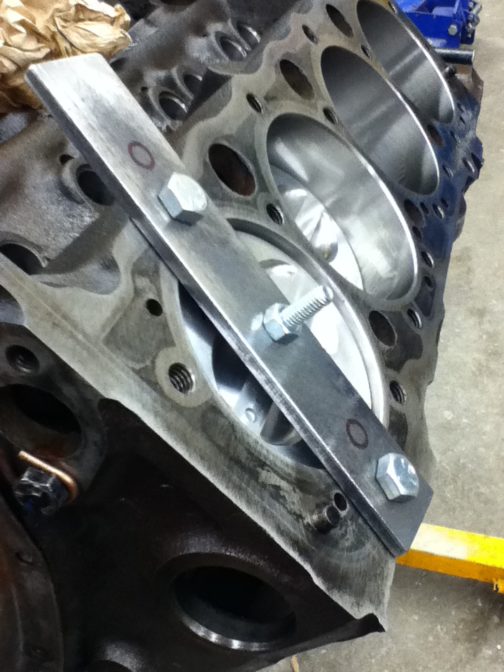
Align BoringThis machines the crankshaft main journals in perfect alignment and size. How can you machine it and still have it the same size? By machining a small bit off the main bearing caps – this makes the hole slightly elliptical, and we machine the hole round again. This will move the crankshaft ever so slightly higher in the block, which can cause some cam timing issues or piston to head clearance issues if you go too far. This process is done with the main caps and the heads (or a torque plate to simulate the stress of a torqued head) on and torqued, as the torqued fasteners can actually distort the block! DeckingThis machines the top of the block perfectly flat. The engine block is mounted in a fixture by the crankshaft journals, so its alignment must be perfect (see above). The decks are then machined perfectly parallel with the crankshaft journals, and perfectly 90° to each other, and at the same height. You should not get greedy in decking a block, or pistons will start to stick up above the cylinder, and the head will get in the way of that (of course, the rods will get bent when the piston hit the head contact, and then the bottoms of the pistons will now hit the crankshaft counterweights because of the bent (shorter) rod 4WD fans take note – the same piston and rod damage occurs when you hydro-lock (“hydro-lock” is when you suck water into the engine, and water cannot be compressed). QUENCH Ideally you want as little space between the piston and the head. This makes for more efficient combustion and a greater resistance to detonation (detonation is when two flame-fronts collide (proper ignition at the spark plug + spontaneous combustion elsewhere in the combustion chamber): Very Destructive!!!). Most builders shoot for 0.040″ clearance (called “squish” or “quench”) – this allows enough room for the connecting rods to stretch a bit at high rpm, without letting the pistons contact the cylinder head. Some engine builders will machine the block to “zero deck” (the pistons are flush with the top of the deck) and use the appropriate head gasket thickness to get the “quench” desired. Gen I Small Block Chevy V8’s have the pistons 0.025″ in the hole. On these engines I use a 0.015″ steel shim head gasket to get 0.040″ squish. A typical composite head gasket 0.050″ thick would reduce compression ratio, reduce power, increase quench, and be more detonation-prone! Whenever you can – minimize Quench. BoringThis machines the cylinders using the same fixture as above, to ensure that the cylinders are perfectly 90° and centered to the crankshaft journals, centered on the rod bearing journal, and matched specifically to each piston. Pistons are numbered because the cylinders are machined to fit each piston. This is best done with the Main caps and a torque plate on and torqued. The cylinders are bored to the exact diameter of the piston as measured at pin height, 90° to the pin, and then honed with a Rigid Hone to the exact required clearance. TORQUE PLATE On one engine I had bored out, I requested they use a “torque plate” – a big hunk of steel that “simulates” the stresses of the attached cylinder head, so that the cylinders will be perfectly round when the heads are on. When the torque plate is removed, the cylinder distort out-of-round. When the engine is assembled and the heads installed, the cylinders become round again. This added $100 to the bill.
PistonsSelected to all be as close to the same diameter and deck height (distance from the pin to the head of the piston) as possible.
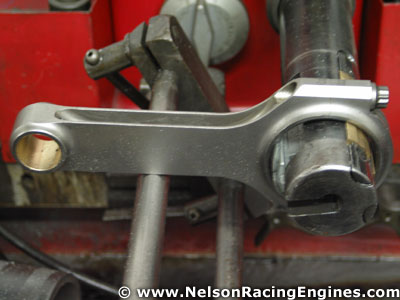
Connecting RodsSelected to be as close to the same length (center-to-center) as possible, and the rods will be resized to ensure the bearings will be held as tightly as possible.
To resize a rod, the rod is disassembled, material ground from the mating surfaces of rod cap (and sometimes the rod itself), the rod reassembled and then honed to exact size. Re-sizing should be done any time rod bolts are replaced.
Crankshaft JournalsCarefully machined to exact size and width so the bearing clearances are exact. If the manufacturer gives you a range for clearance, you want to shoot for the exact center. Japanese engines often come with a coded crankshaft and a coded engine block, which help you select which specific bearing is required for which specific journal – right from the factory! Crankshafts are also micro-polished.
|
Cylinder Heads |
|
Cylinder heads should be inspected for the same core issues as the block, but what is very critical is consistent combustion chamber sizes. A head that has been improperly milled at a slight angle may have the chambers get smaller and smaller from one end to the other.
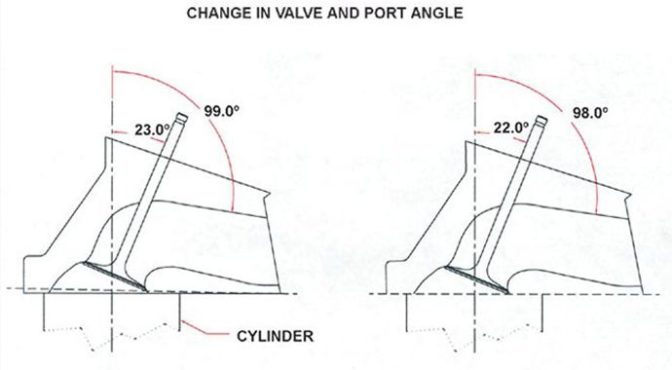
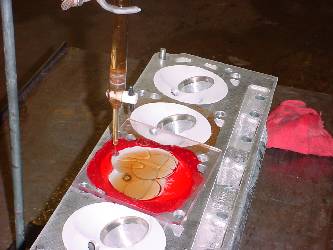
ANGLE MILLING Cool tip: you can get V8 cylinder heads milled at an angle, which removes a LOT off the exhaust manifold (combustion chamber) side of the head, and less on the intake manifold side of the head. More power! (Oh yeah – there’s more things to be aware of when you do this, though….) CC’ing“CC” is the unit of measurement of the combustion chamber: “cubic centimeters.” When “CC’ing” the heads, you are ensuring that all combustion chambers are exactly the same. It is much easier to remove material to do this, so it is usually done first, then the heads are milled to reduce the chamber size back to where it’s supposed to be. How to Calculate Combustion Chamber Volume
MillingJust like Decking, milling machines the surface of the cylinder head perfectly flat. This also raises the compression ratio slightly for more power. On V-type engines, milling the heads require the intake manifold to be machined as well, since the intake ports are now lower than they were before (the bottom of the intake as well as the intake-head surface need to be machined). On pushrod engines, shorter pushrods may be required. On overhead camshaft engines, milling the head usually causes the cam timing to be retarded (open and close the valves later than they are supposed to, kills low-end torque) because the tight-side of the timing belt or chain must stay tight even when the pulleys or gears are now closer together.
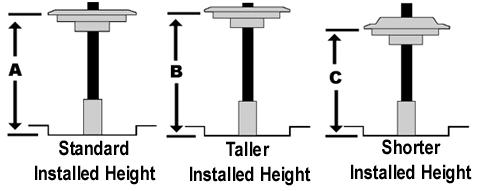
Valves and SpringsValves will all be chosen to be as close to the same length as possible. Valve springs will be checked to all be the same spring rate, that the spring is perfectly vertical, and that the installed and compressed height and clearances of the spring is the same. Valvetrain geometry (the angle and motion of the rocker arms with respect to the valve stem) is also checked to ensure the valves are being pressed on their exact center.
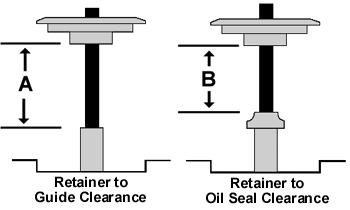
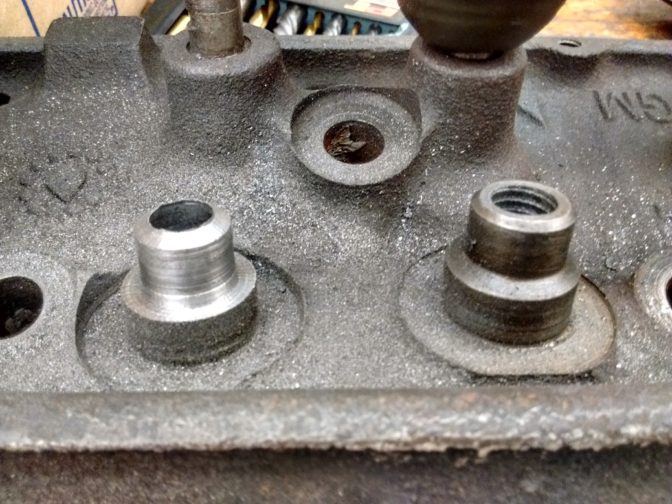
Performance camshafts with “high lift” and/or “long duration” need to be checked for piston-to-valve clearance (valve reliefs can be cut deeper into the pistons), coil bind, and retainer-to-valve-guide clearance. Valve reliefs in the piston can be machined larger or deeper as needed – but make sure you do the SAME to each piston, or you will change the compression ratios between cylinders.
|
Other Details |
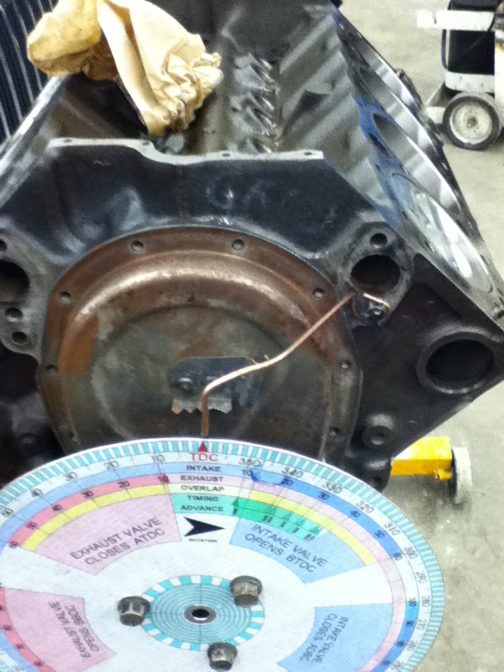
Degreeing the CamshaftBack in level 1 we assumed by lining up the timing marks on the engine, that the camshaft would be installed perfectly aligned. BA-hahahahahahahahaha. Not usually. If you are building a performance engine, you want to make TOTALLY SURE that the camshaft is installed PERFECTLY so that the valves open and close EXACTLY when designed. As a rule-of-thumb, Advancing the camshaft (making the valves open and close earlier) builds low-end power, while Retarding the camshaft (the valves open and close later) builds top-end power. One or the other; you can’t have it all. Determine EXACT Top Dead Center (TDC). This requires a degree wheel fixed to the crankshaft, a pointer we can adjust, and a stop for the piston.
Rotate the engine in one direction until the piston contacts the stop (preventing it from rotating further), and record the location on the degree wheel
Rotate the engine in the opposite direction until the piston meets the stop again, and record the location on the degree wheel.
In-between those two marks is True TDC. Move the pointer to point to that location – this is true TDC.
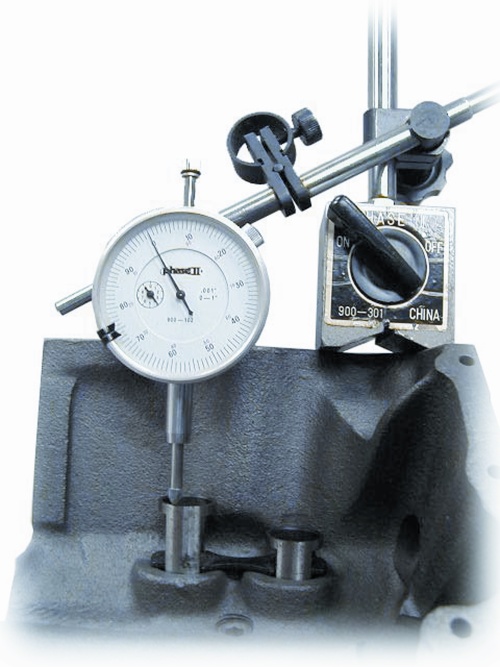
Determine where the cam is actually installed. For this you will need a dial indicator. One way to check is by confirming when the intake valve opens and comparing it to the camshaft manufacturer’s specifications. Rotate the engine until the intake lobe has lifted 0.050″ (avoid measuring off hydraulic lifer piston, if equipped) and compare to specs. 0.050″ is the “industry standard” for camshaft measurement.
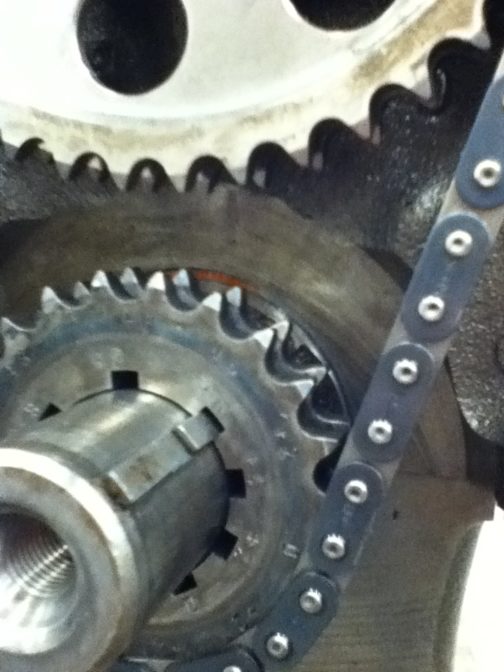
Another way to check is to find the Intake Lobe Centerline (exact middle of the intake lobe) Rotate the engine until you find peak lift on the intake lobe. Zero the dial indicator Continue rotating the engine until the lift has closed 0.050″ and note the location on the degree wheel. Rotate the engine the other way, until the lift is closing 0.050″ the other way and note the location on the degree wheel. In-between those two marks is the actual Intake Center Line (ICL). Cam timing can be adjusted through adjustable cam gears or sprockets, offset dowels or offset keys.
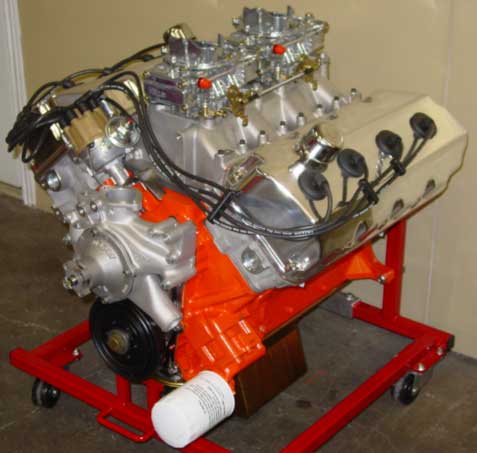
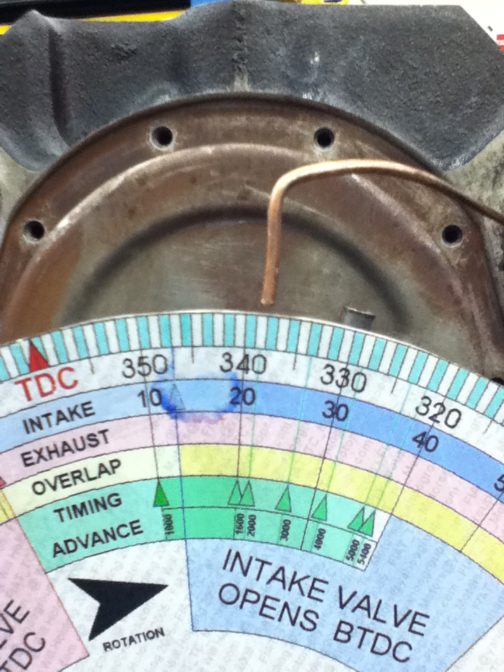
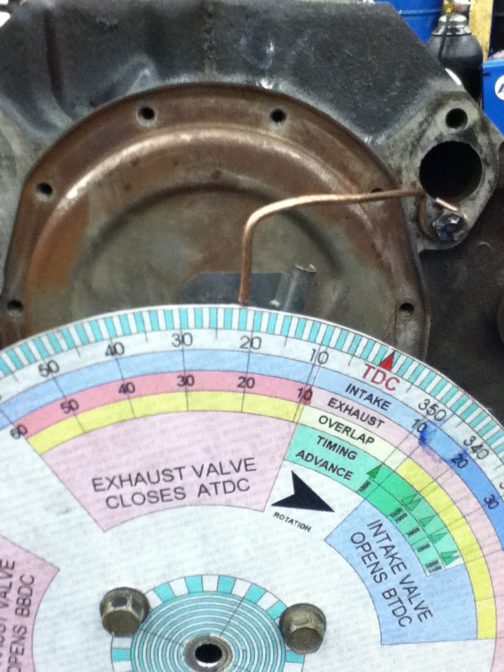
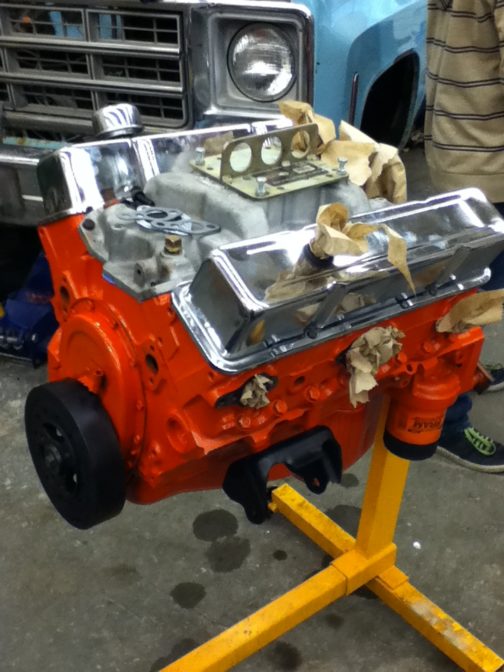
I degreed the cam in a “hot rod” Chevy V8 I built (pics above), and found the brand new harmonic balancer had the TDC indicator 1° retarded. Not really a problem, because the engine was “not normal,” and was going to be tuned according to what the engine likes, not what GM recommends. In degreeing the camshaft, I found the cam was ground 6° retarded. This is unusual. I contacted the manufacturer who recommended I degree the cam according to Intake Center Line (ICL). Same reading. The cam manufacturer said “just advance it 6°” so I did. Since the engine was built for a truck, I wanted to maximize the low-end power.
|

