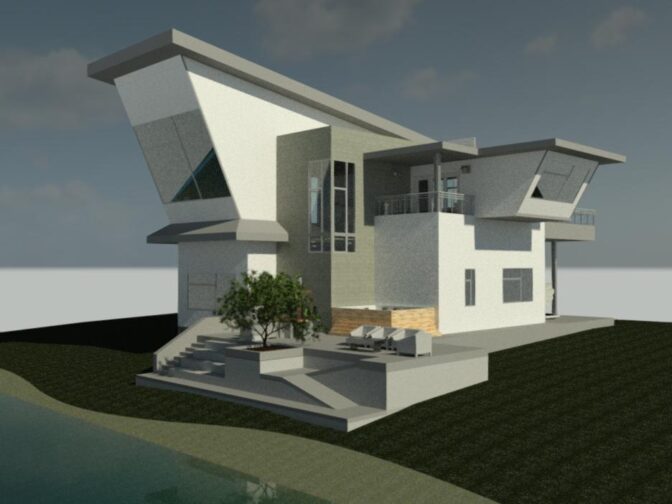
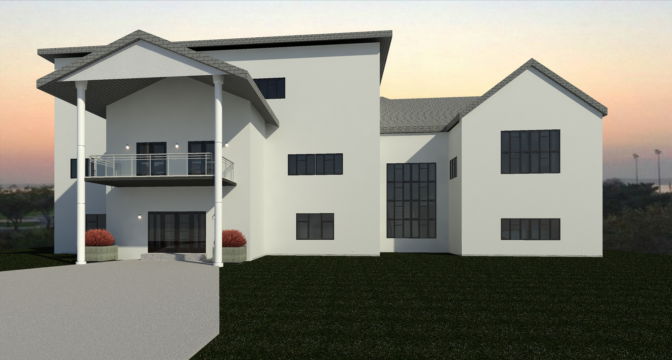
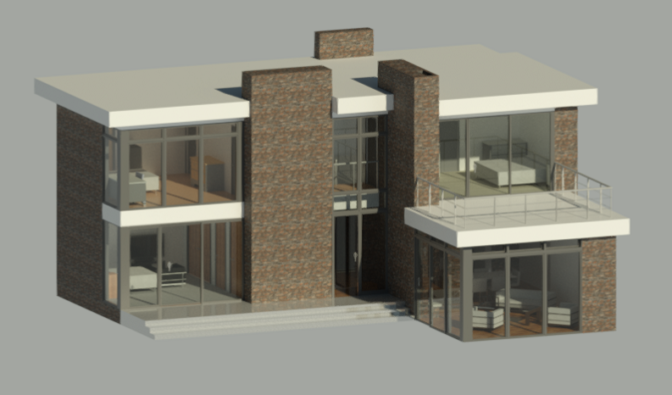
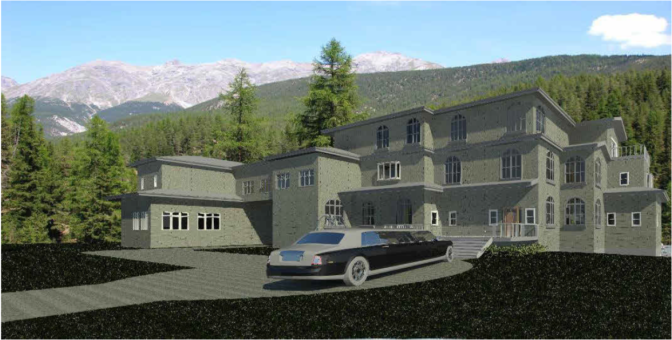
3D ARCHITECTURAL DESIGN
YOUR DIFFERENCES ARE NOW INCLUDED IN THE LEVEL 2 LINK (CLICK HERE TO GO THERE)
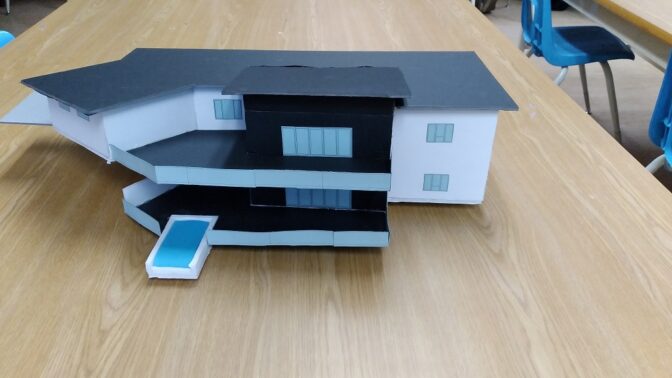
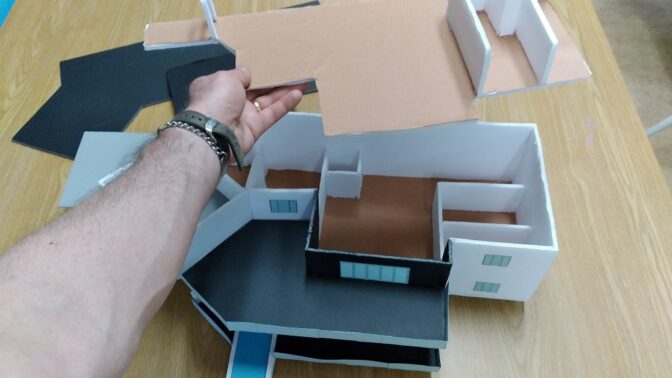
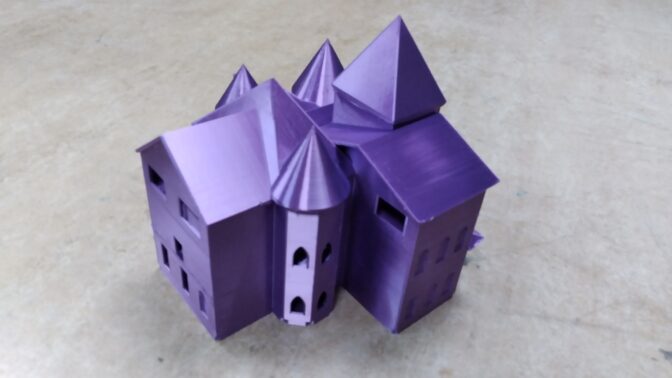
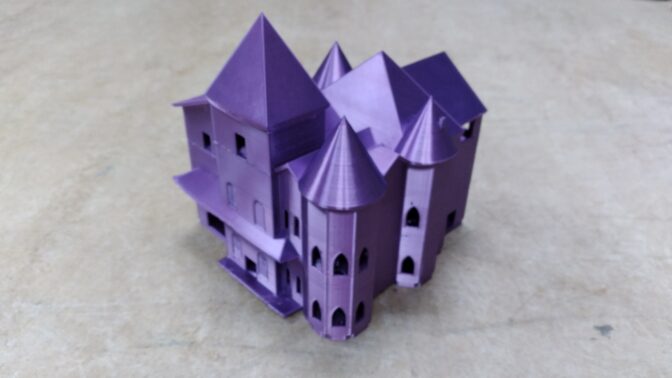
This project involves the design, development, and drawing of a set of house plans. You will also construct a scale model of your house
You will be using a LOT of the reference content in AutoCAD Level 1; be sure to spend time reviewing that section as you go.
Need a Review? —> L2 Garage Tutorial
Are you “Detail-Oriented?”
1. Do a simple, uncomplicated design – TRUST ME
2. Don’t get it perfect, just get it done
3. “Good Enough” DRAWING, vs. “Perfect” HOUSE
4. Don’t fret over details that don’t matter
5. Go back for more detail if you have time
“Stop fretting Wellwood; your ‘Death Trap’ is still better than most people’s ‘Awesome’.” – Ron I.
START WITH A SITE
THINGS YOU SHOULD PLAY WITH IN REVIT
“Scope Box”
WHAT YOU WILL HAND IN:
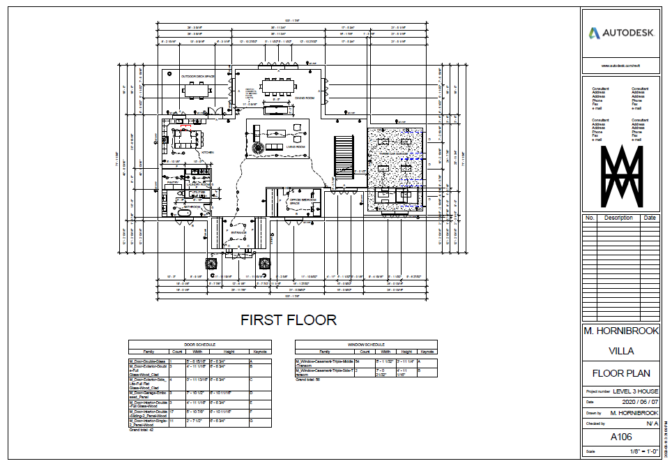
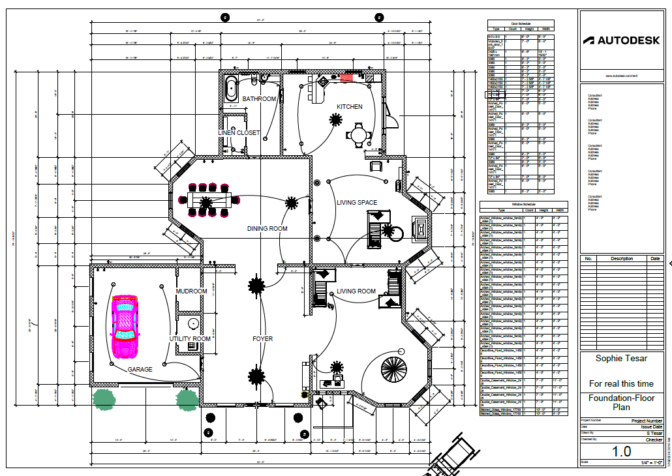
FLOOR PLAN
-
- PROPERTY: You can use the classroom Properties , or you can find a patch of land somewhere on Earth, and build there. One student did a sweet cliff-side home on Mulholland Drive. Another student did the Taj Mahal. What will you do to eclipse those?
- Property MUST NOT BE FLAT; it MUST have some shape/terrain to it.
- FLOOR PLAN: Modify, Adapt, or Create from scratch
- ONE drawing sheet for EACH floor
- REVIEW: WHAT IT SHOULD LOOK LIKE
- NEW!! TOPOGRAPHY:
- You MUST create/form some NOT FLAT TOPOGRAPHY (terrain, ground, incline, landscaping, shape, etc.)
- NEW!! COMPONENT:
- YOU MUST CREATE some sort of significant COMPONENT for your house
- Couch?
- Armoire?
- 1965 Lotus Super 7?
- Wishing Well?
- Kitchen Appliance?
- A scale model of Mr. Wellwood?
- YOU MUST CREATE some sort of significant COMPONENT for your house
- PROPERTY: You can use the classroom Properties , or you can find a patch of land somewhere on Earth, and build there. One student did a sweet cliff-side home on Mulholland Drive. Another student did the Taj Mahal. What will you do to eclipse those?
REFERENCE TUTORIALS:
- HOW TO: Model Terrain
- HOW TO: Draw Spiral Stairs In Revit
- HOW TO: Roof Sofits, Fascias & Gutters
- HOW TO: Electrical with RevIt
- HOW TO: Annotate
- HOW TO: Annotate Foundation Plan
- HOW TO: Create a Door Schedule
- HOW TO: Create a Window Schedule
- HOW TO: Annotate Section Views
- HOW TO: Materials
- HOW TO: Plan Views
- MARK SHEET
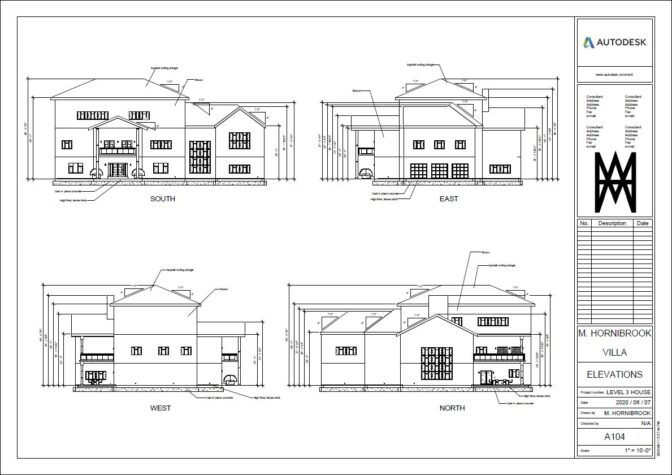
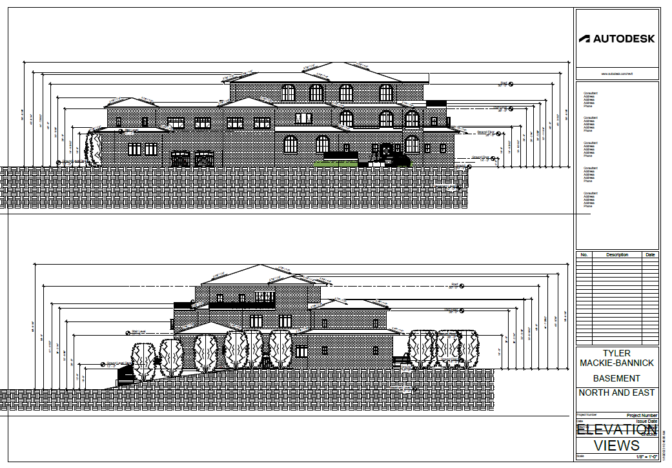
ELEVATIONS
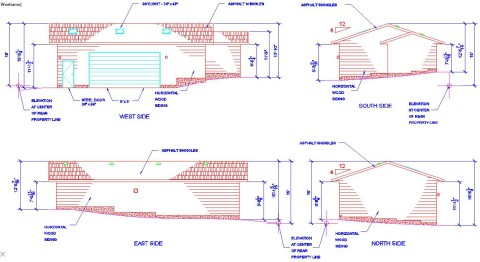
Wellwood’s failed shop design #2
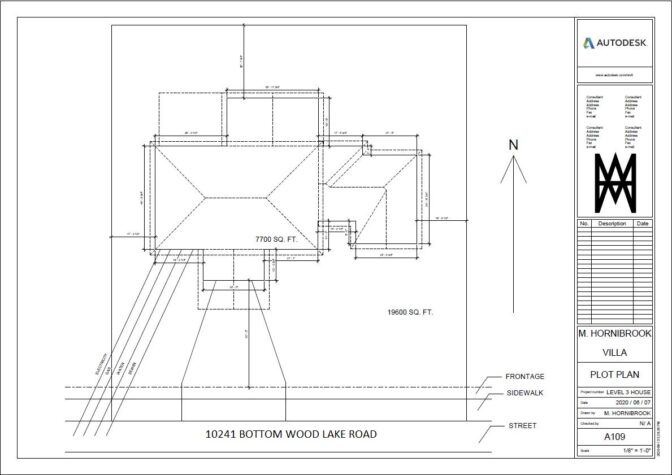
PLOT PLAN
3D VIEWS
-
- REVIT TUTORIAL- “3d Views”
- Change View Size: Look for “Size Crop” and be sure to Lock the Scale.
- Create FOUR sheets!
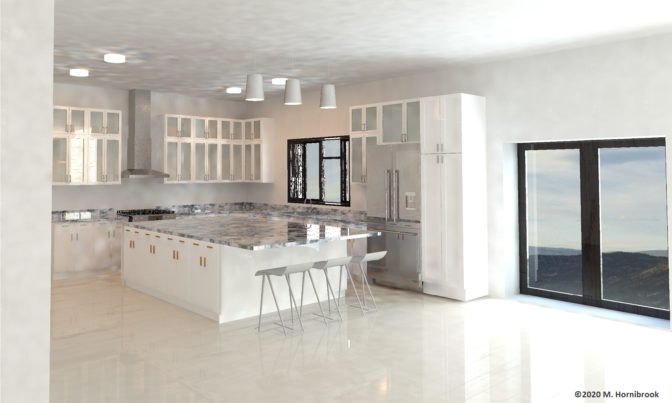
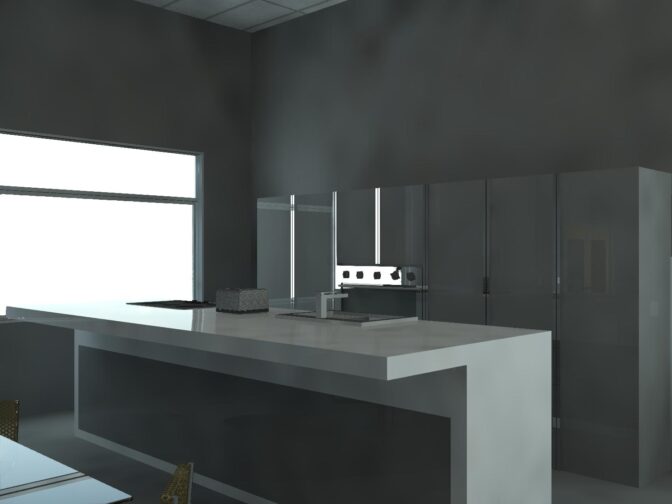
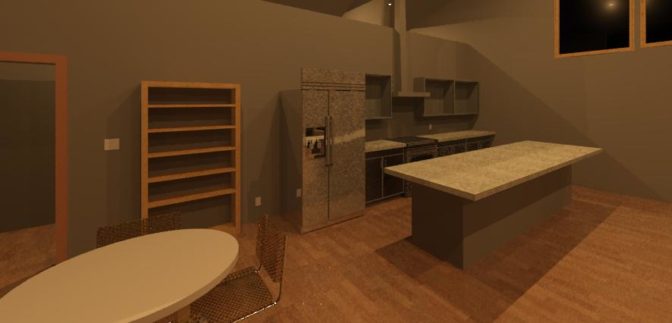
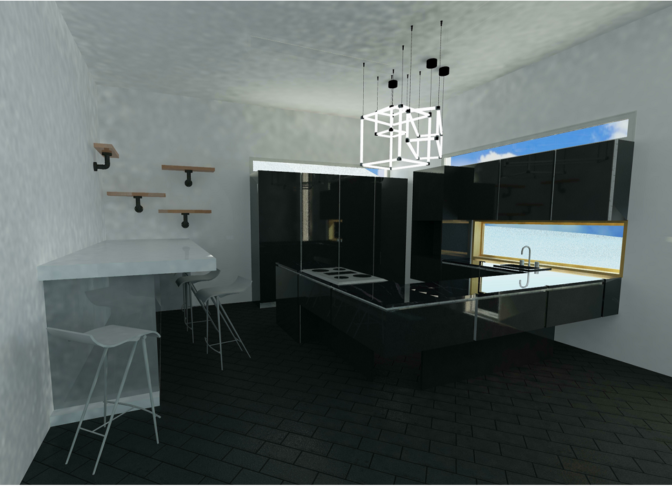
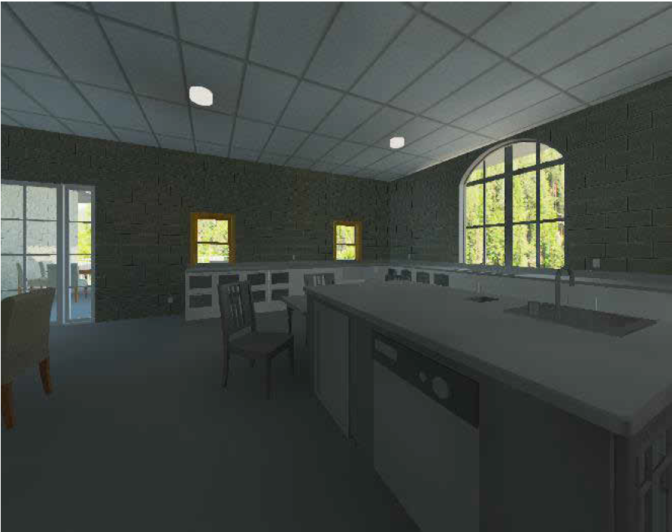
- SHOW ME: Rendered Kitchen View (change settings to “render until satisfied”)
- PRINT: Wireframe Kitchen View (no shading, no colour)
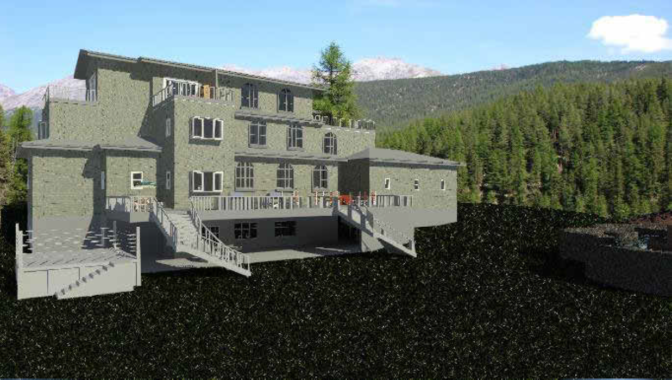
- SHOW ME: Rendered House View
- PRINT: Wireframe House View (no shading, no colour)
- MARK SHEET
- REVIT TUTORIAL- “3d Views”
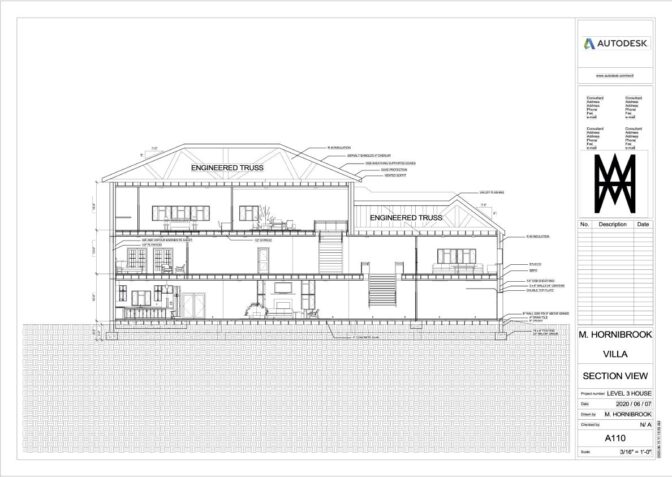
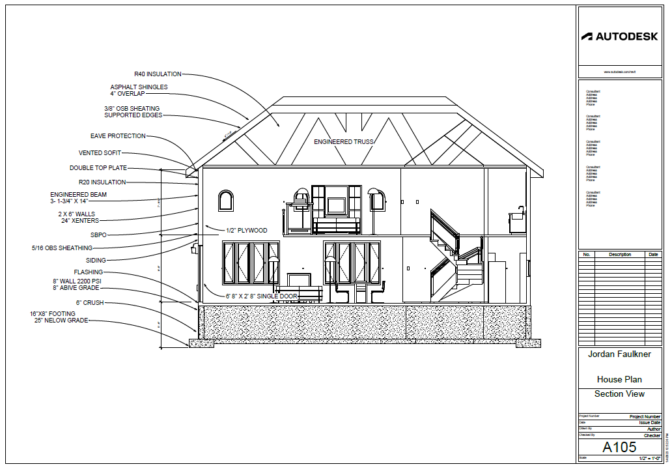
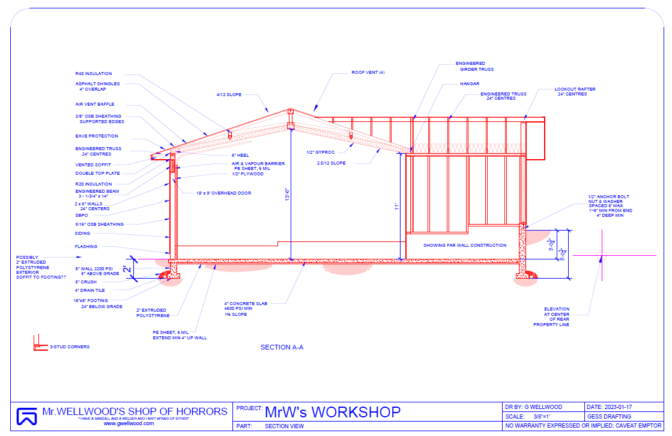
SECTION VIEW
ANIMATED WALK-THROUGH
-
- HOW TO: Animated Walkthrough
- NOTE: Be mindful of where you point the camera at each step – it’s impossible to change later!
- Distorted Views?
- MARK SHEET
- HOW TO: Animated Walkthrough
ARCHITECTURAL MODEL

