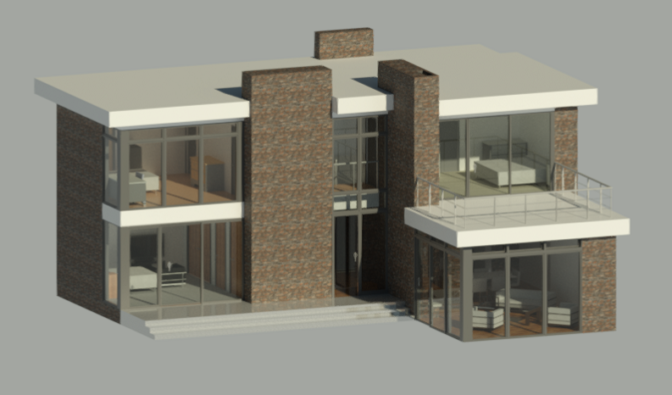
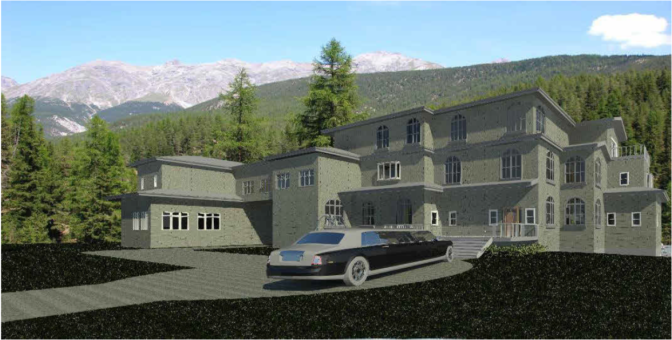
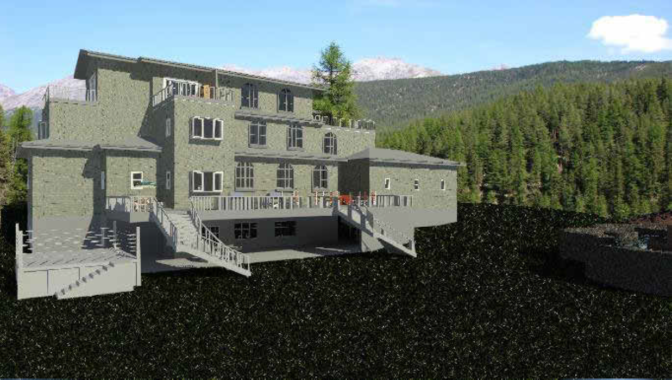
3D ARCHITECTURAL DESIGN
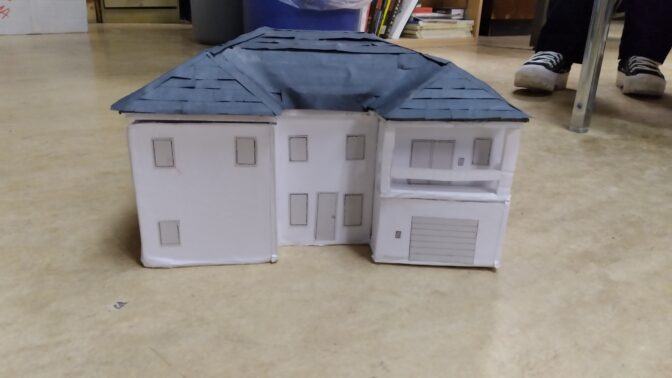
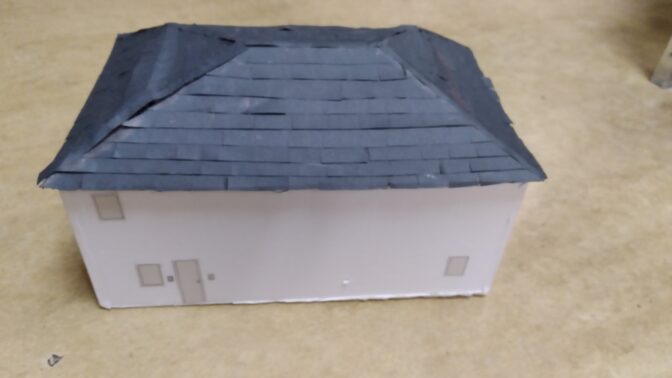
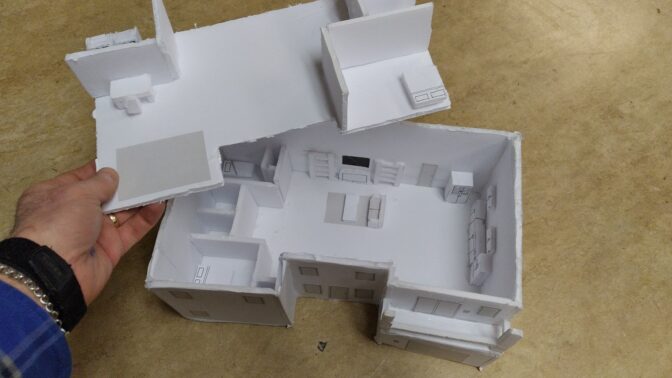
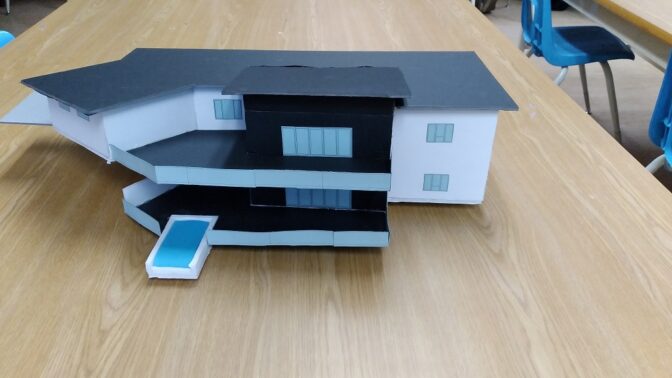
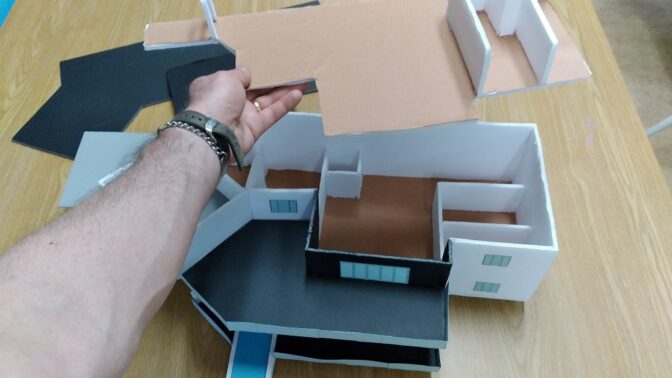
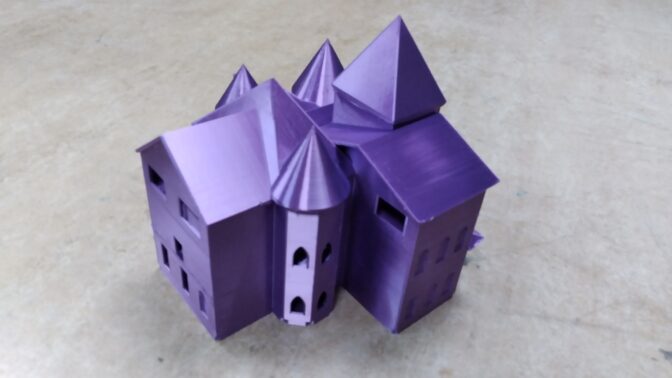
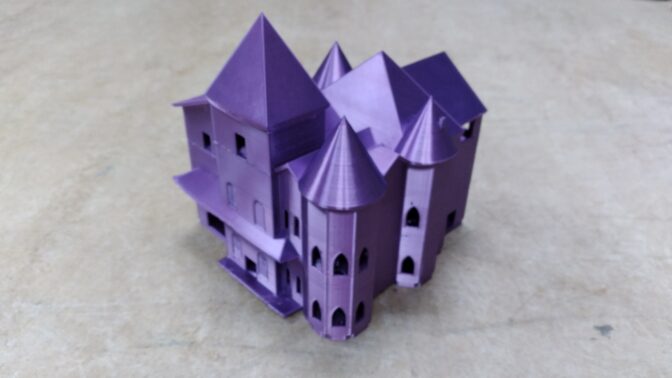
This project involves the design, development, and drawing of a set of house plans. You will also construct a scale model of your house
You will be using a LOT of the reference content in AutoCAD Level 1; be sure to spend time reviewing that section as you go.
DO THIS FIRST:
TUTORIAL: Two Car Garage
:DO THIS FIRST
^^^ LOTS OF TWEAKS AND UPDATES (2024) ^^^
NOTE:
1. Do a simple, uncomplicated design – TRUST ME
2. Don’t get it perfect, just get it done
3. “Good Enough” DRAWING vs. “Perfect” HOUSE
4. Don’t fret over details that don’t matter
5. Go back for more detail if you have time
“Stop fretting Mr. Wellwood; your ‘Death Trap’ is still better than most people’s ‘Awesome’.” – Ron I.
START WITH A SITE
WHAT YOU WILL HAND IN:
-
- Floor Plan
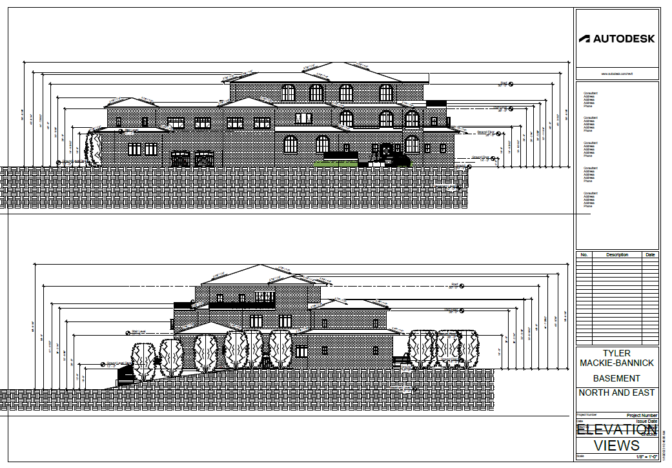
- Elevation Views
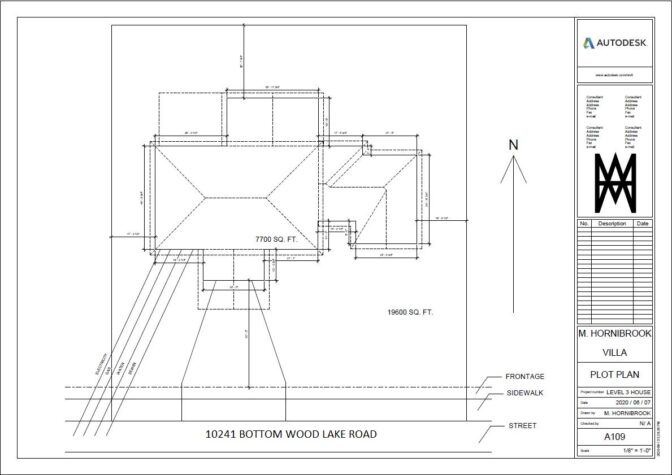
- Plot Plan
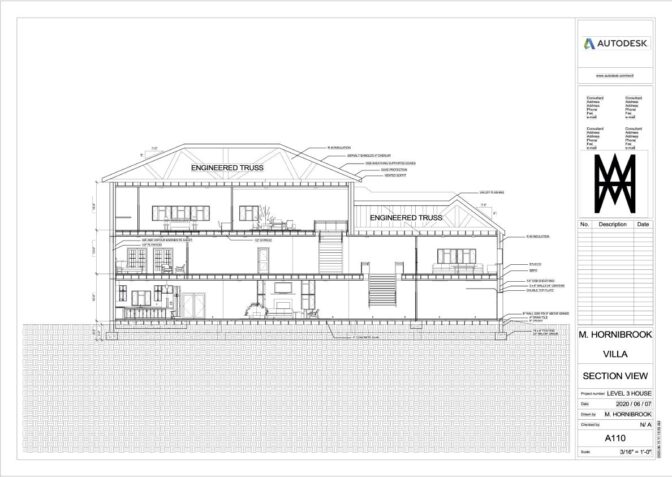
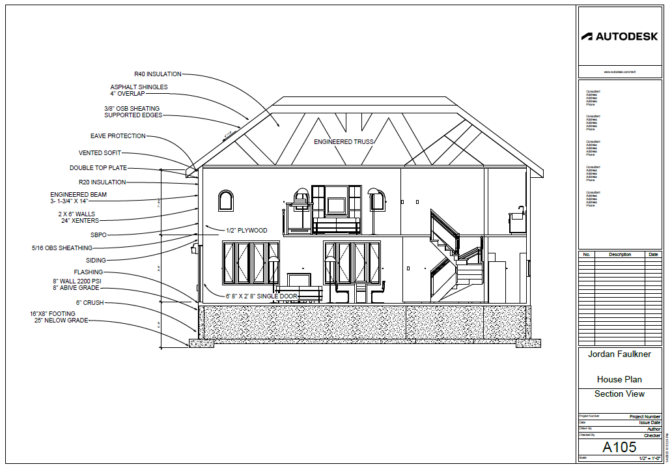
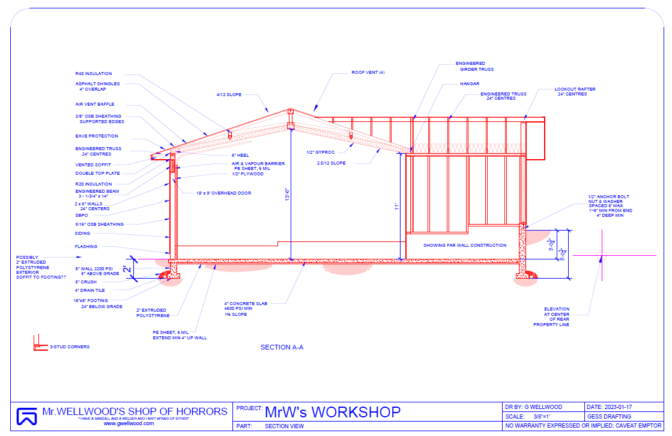
- Section View
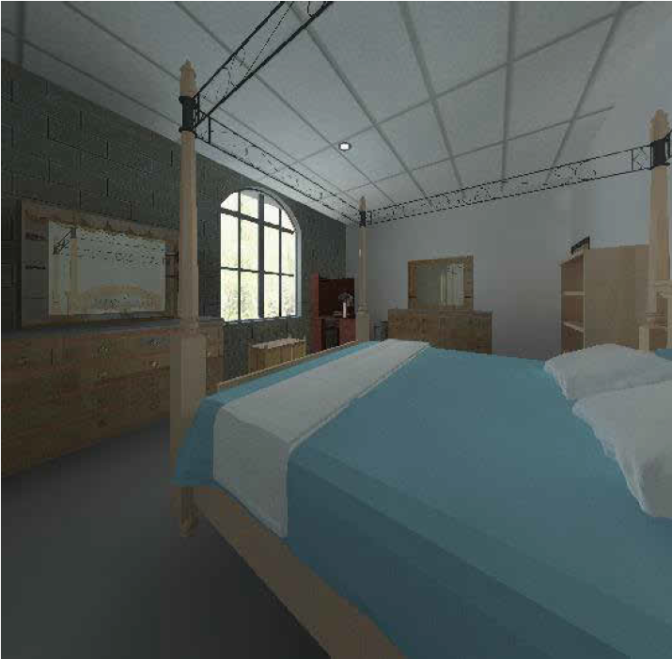
- 3D Views
- Animation Walk-Through
- Scale Model
- L3 Only: “Component”
L3: THINGS YOU MUST DO IN REVIT
-
- NEW!! TOPOGRAPHY:
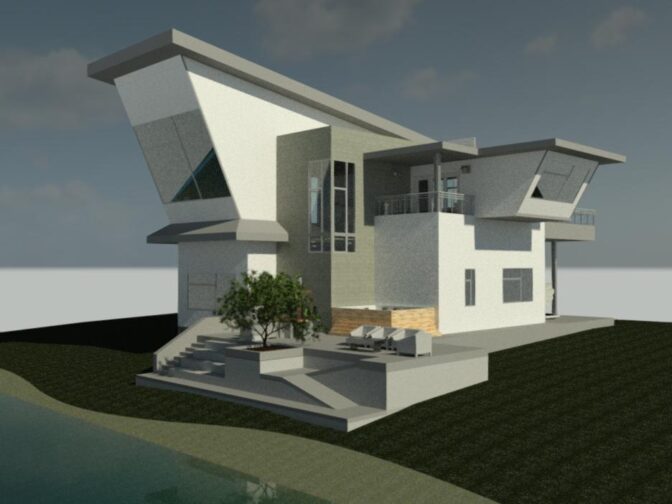
- You MUST create/form some NOT FLAT TOPOGRAPHY (terrain, ground, incline, landscaping, shape, etc.)
- NEW!! COMPONENT:
- YOU MUST CREATE some sort of significant COMPONENT for your house
- Couch?
- Armoire?
- 1965 Lotus Super 7?
- Wishing Well?
- Kitchen Appliance?
- A scale model of Mr. Wellwood?
- YOU MUST CREATE some sort of significant COMPONENT for your house
- NEW!! TOPOGRAPHY:
L3: THINGS YOU SHOULD PLAY WITH IN REVIT
-
- “Scope Box”
FLOOR PLAN
-
- GET a Property (you can insert the CAD Drawing into RevIt)
- FOR LEVEL 3: Your property MUST have shape AND slope to it (Topography)
- FOR LEVEL 3: The MAX SIZE limitations are now your MIN SIZE limitations
- Basically: “Give’r.”
- Just make sure you finish what you start!
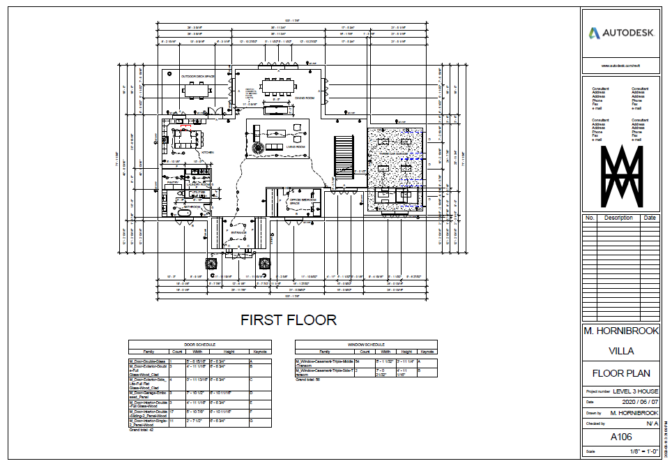
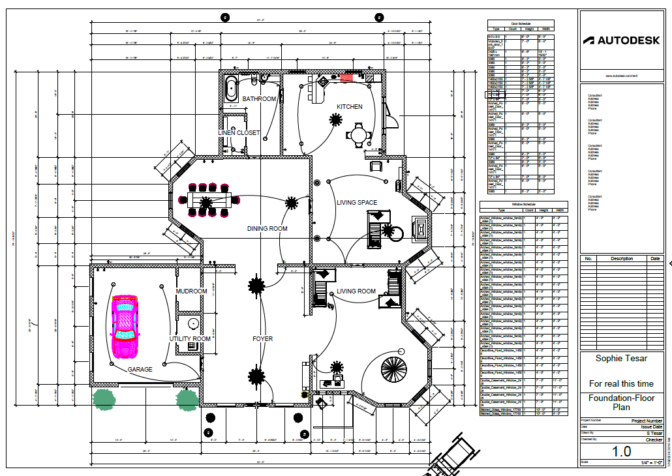
- GET a Floor Plan
- Design your own, or be inspired by someone else’s design
- ONE drawing (sheet) for EACH floor
- L1 REVIEW OF WHAT IT SHOULD LOOK LIKE
- LIMITATIONS
- Front Setback = 15′
- Side Setback = 5′
- Rear Setback = 10′
- Minimum Building Width = 18′
- Maximum Building Height = 30′
- 2700sqft Max
- Two story only
- 3 Bedrooms Max
- 3 Bathrooms Max
- Hip Roof
- NOTE:
- Make sure you have set a level for subsequent floors that leave 12″ for floor joists.
- T/Plate2 (ends at 17′)
- T’Floor2 (starts at 9′)
- T/Plate1 (ends at 8′)
- T/FDN (Floor1) (ends 8″ above grade)
- T/FTG (begins 2′ below grade)
- SEE THE MARKS SHEET FOR WHAT NEEDS TO BE IN THERE
- Need Components?
- GO TO: [Insert Tab] -> “Load Autodesk Family”
- DOWNLOAD COMPONENTS FROM: https://www.revitcity.com
- DOWNLOAD COMPONENTS FROM: https://measuredsurvey365.co.uk
- DOWNLOAD COMPONENTS FROM: https://arcat.com
- GET a Property (you can insert the CAD Drawing into RevIt)
HOW TO’s
-
- HOW TO: Draw Spiral Stairs In Revit
- HOW TO: Roof Sofits, Fascias & Gutters
- HOW TO: Electrical with RevIt <<< THIS ONE FOR SURE
- HOW TO: Annotate
- 1st Row: 4′ off house, all edges to center of all windows and doors
- 2nd Row: 5′ off house, edges to center of interior walls that touch exterior walls
- 3rd Row: 6′ off house, all edges
- 4th Row: 7′ off house, full exterior width only
HOW TO: Annotate Foundation Plan- HOW TO: Create a Door Schedule
- HOW TO: Create a Window Schedule
- HOW TO: Add Details
- HOW TO: Make Your Roof Look “Right” On The Floor Plan <<< THIS ONE FOR SURE
- HOW TO: Materials
Don’t get it perfect, just get it done
ELEVATIONS
- REVIT TUTORIAL – Elevation Views
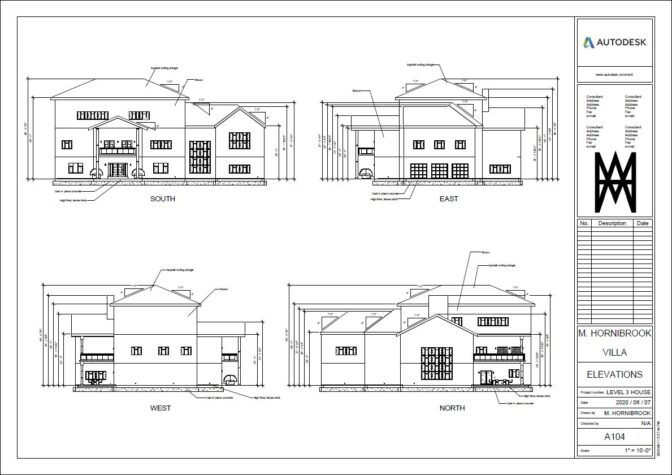
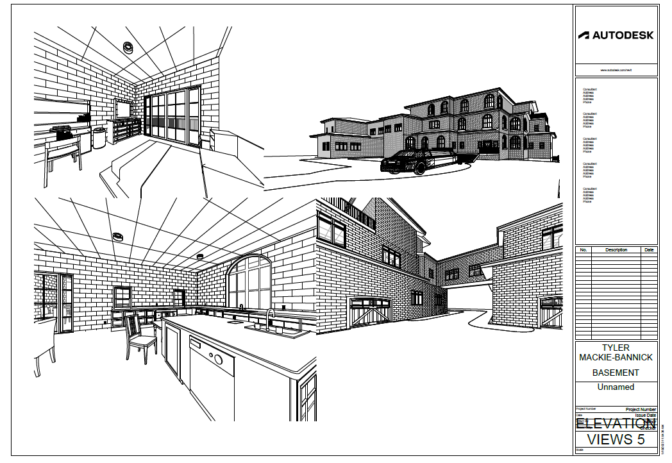
- REVIEW: WHAT IT SHOULD LOOK LIKE
- Dimension: Ground to eaves (top of overhang)
- Dimension: Ground to each floor other than the main floor
- Dimension: Ground to each roof peak
- Dimension: Ground to top of chimney
- Roof Pitch
- Roofing materials
- Siding materials
- REVIEW: WHAT IT SHOULD LOOK LIKE
- HOW TO: Annotate Elevations <<< THIS FOR SURE
- ONE drawing for ALL views (unless your palatial mansion doesn’t fit)
- Finding Answers to your Questions
Don’t get it perfect, just get it done
PLOT PLAN
- HOW TO: Create a Site (Plot) Plan
- REVIEW: WHAT IT SHOULD LOOK LIKE
- Exterior outline of house walls (prefer solid lines)
- Outline of entire roof (prefer hidden lines)
- Property dimensions
- House wall lengths (just use a number, don’t use dims – it gets too cluttered)
- Dimension location of house on property (closest point each side)
- North arrow
- Street Address
- Footprint (square feet) of house
- Area (square feet) of property
- Distance from house to center of street
- Location of ____ to connection on street
- Water lines
- Sewer lines
- Gas lines
- Electrical wires
- HOW TO: Plan Views
- REVIEW: WHAT IT SHOULD LOOK LIKE
Don’t get it perfect, just get it done
3D VIEWS
-
- REVIT TUTORIAL- “3d Views”
- IMAGE TOO SMALL? Look for “Size Crop” and be sure to Lock the Scale.
- Create TWO sheets!
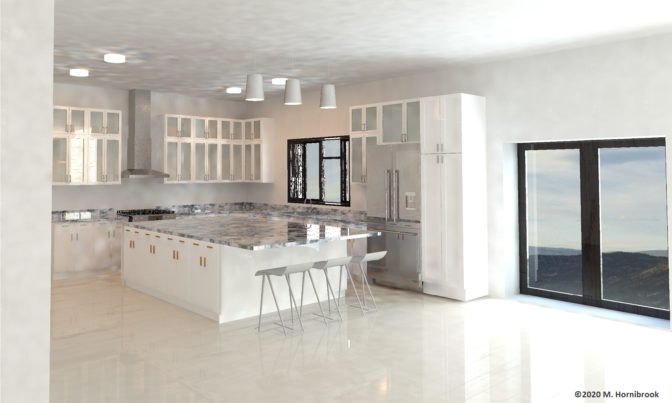
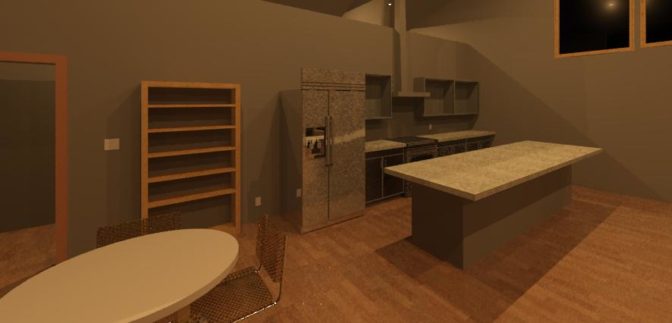
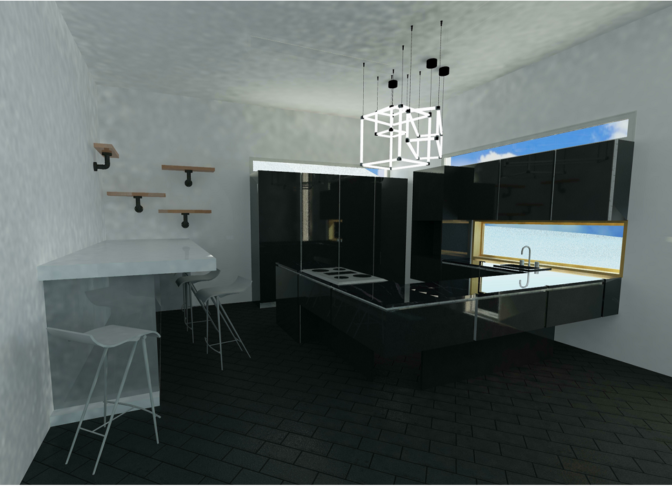
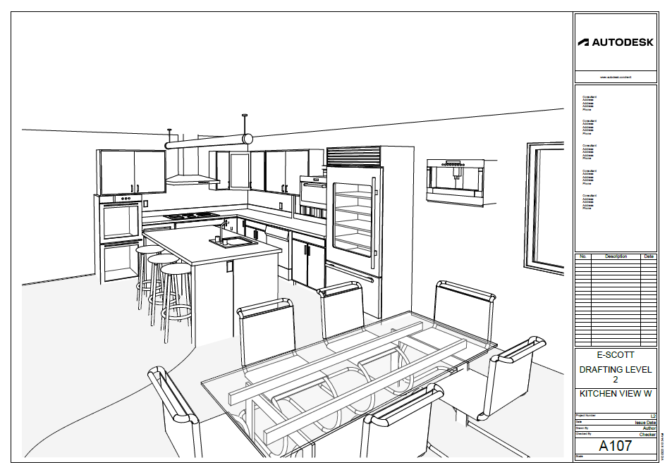
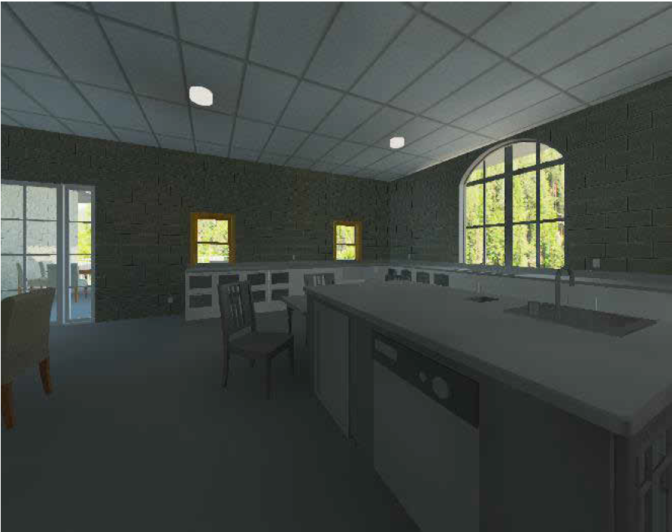
- SHOW ME: Rendered Kitchen View (change settings to “render until satisfied”)
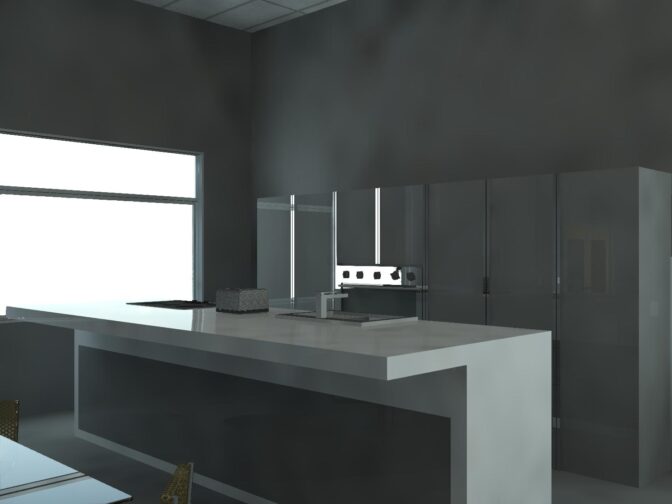
- SHEET & PRINT: Line-Drawing Kitchen View (no shading, no colour)
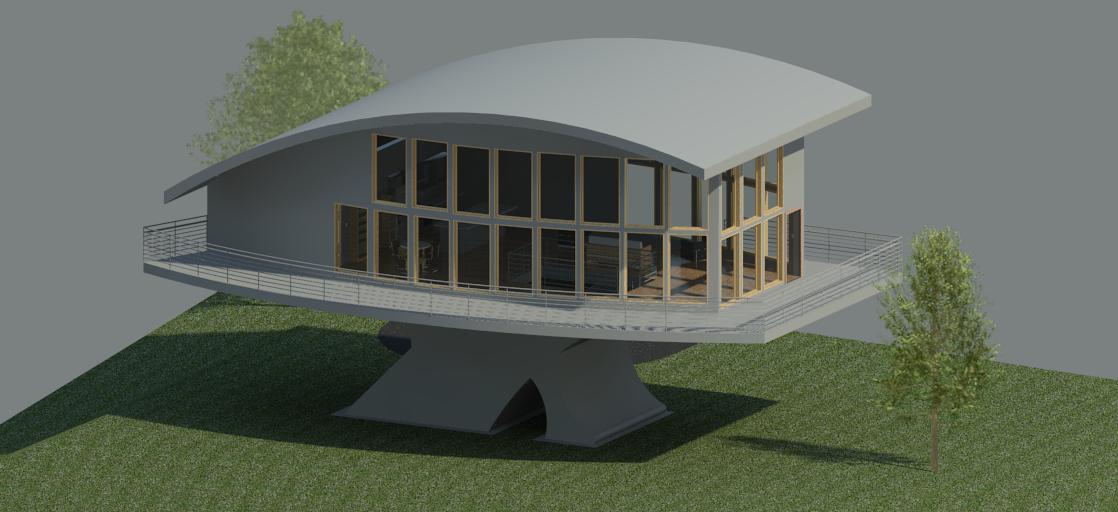
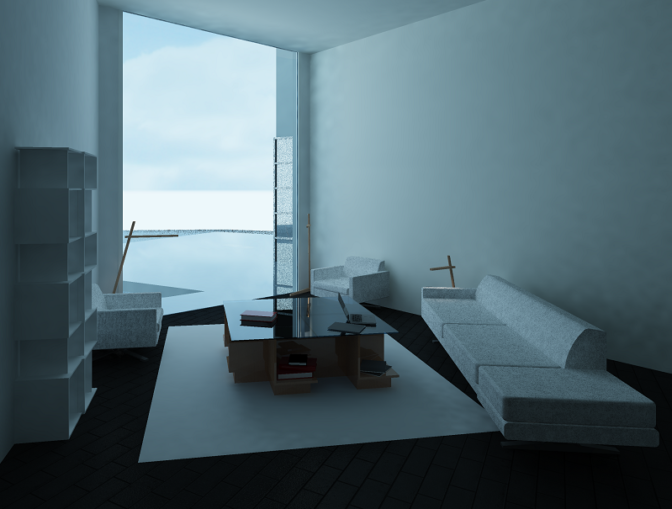
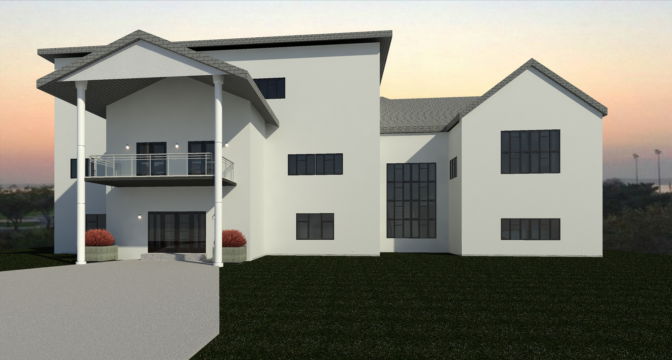
- SHOW ME: Rendered House View
- SHEET & PRINT: Line-Drawing House View (no shading, no colour)
- REVIT TUTORIAL- “3d Views”
Don’t get it perfect, just get it done
SECTION VIEW
-
- HOW TO: Section Views
- WHAT IT SHOULD LOOK LIKE
- Cut through a window or door
- Door/Window lintel detail
- Insulation detail
- Interior wall construction detail
- Exterior wall construction detail
- Roof construction details
- Truss detail
- NOTE: One layer “grayed out?” PHASING – Set to COMPLETE
- HOW TO: Section View & Hatch Pattern
- HOW TO: Annotate Section Views
- HOW TO: Materials
- MARK SHEET
Don’t get it perfect, just get it done
ANIMATED WALK-THROUGH
-
- HOW TO: Animated Walkthrough
- NOTE: Be mindful of where you point the camera at each step – it’s impossible to change later!
- Distorted Views?
- MARK SHEET
- HOW TO: Animated Walkthrough
Don’t get it perfect, just get it done
ARCHITECTURAL MODEL
Don’t get it perfect, just get it done

