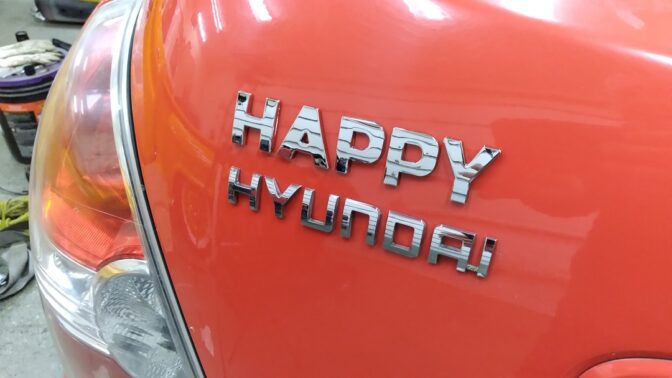
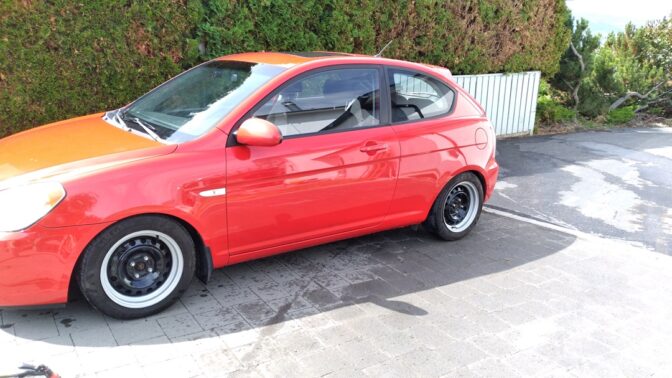
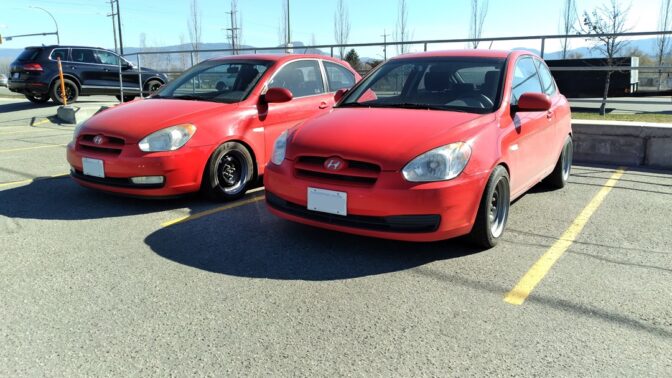
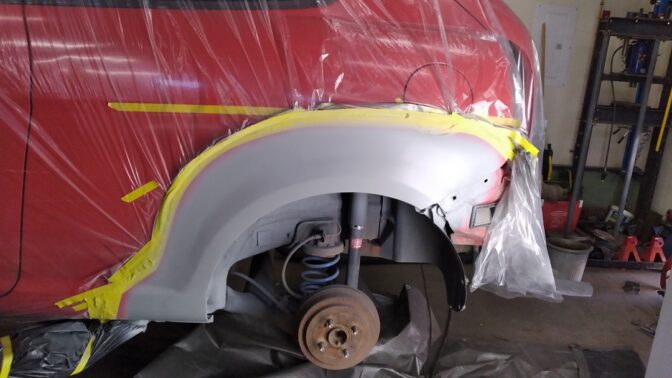
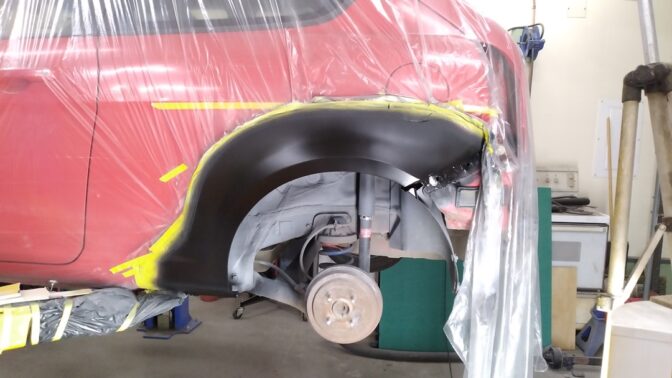
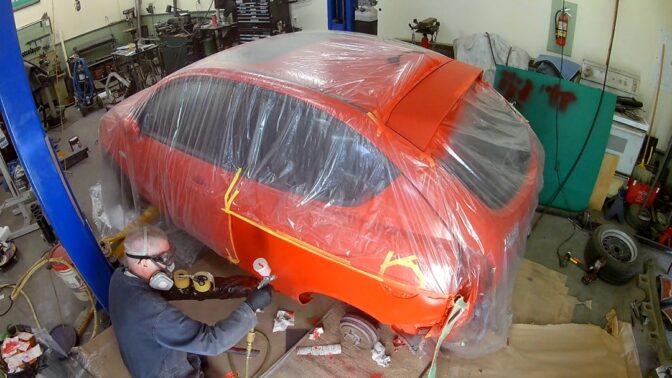
How it looks now:
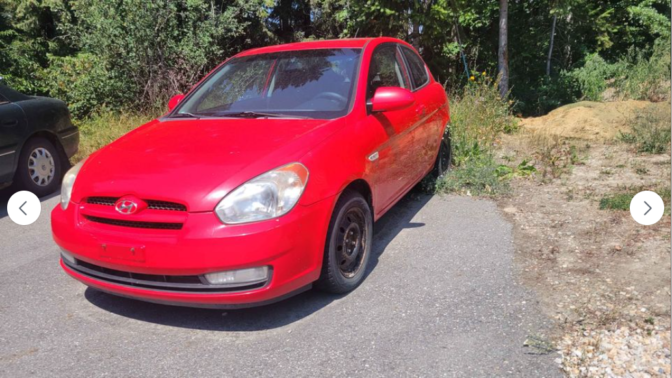
From the Facebook Marketplace AD:
I ‘bricked” my wife’s Infiniti by changing the battery (nuked a $1000 keyless entry module). I’m a bit gun-shy on luxury cars now.
Plus, I’ve been thoroughly enjoying driving The Angry Accent, and my sweetie is on board with cutting the fuel bill down as well!
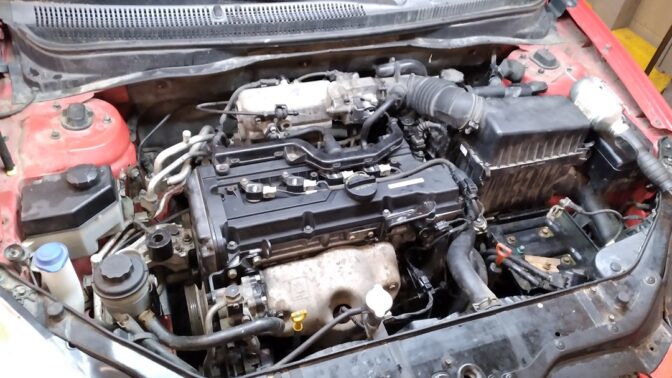
Bought it off FB Marketplace, listed as “cranks but does not start.” The result of NOT changing the timing belt, and now the pistons have bent all the valves.
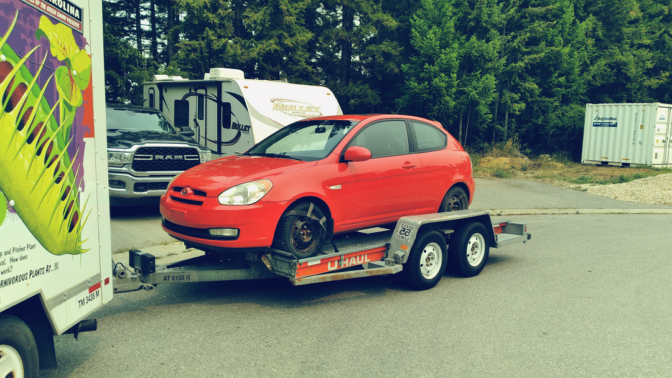
Trailered it home:
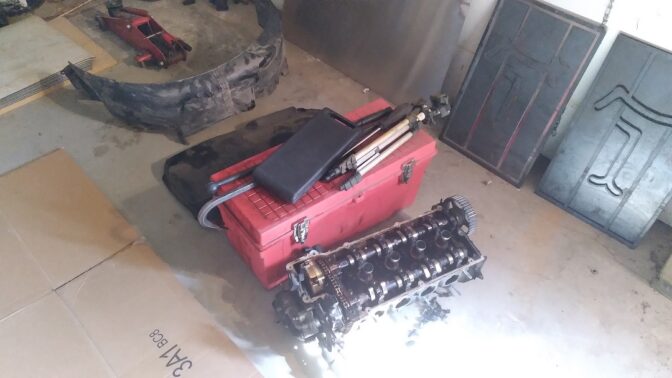
Picked up another head at Pick-N-Pull which I will “freshen it up” (another head is cheaper than buying valves), and then we’ll see where I go with this project. Likely some widened steelies and a rear sway bar. Maybe lowering springs. It needs rear shocks, so I’ll likely get a set of SE shocks for both this and The Angry Accent.
Also bought an engine cover and a left front inner fender (both missing on this car).
Note to those of you pulling heads, you need a DEEP 8mm Allen Head bit. The wee black case on top of my tool box is the kit I bought just for the one 8mm I needed. Nice to have NAPA so close to Pick-N-Pull.
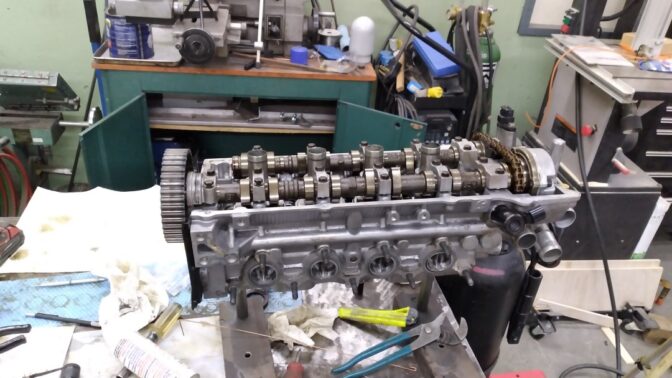
Junkyard head cleaned up (used heavy duty degreaser, and then 20second soaks with over cleaner and pressure washer until the carbon is gone), valves lightly lapped, mild bowl porting especially smoothing around the seat (they were yucky):
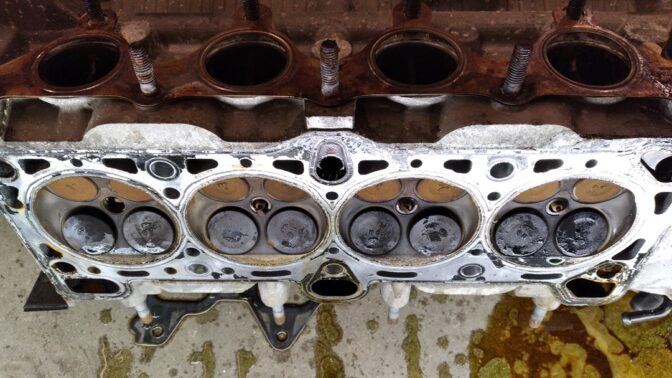
Old head is removed. Wow! ALL 8 intake valves were bent! Impressive!
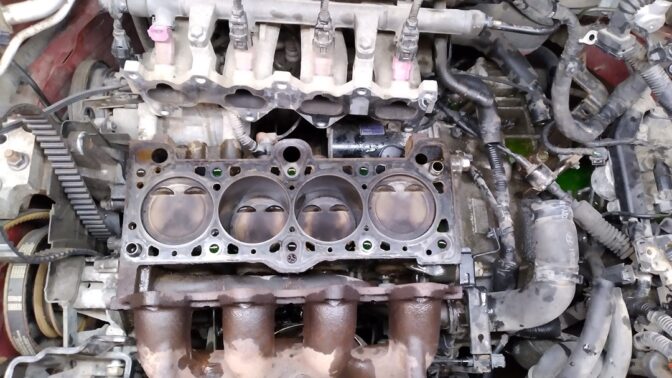
Cylinders look decent enough. Not cherry, but decent.
And we’re back together. Somebody doing previous work was a HACK.
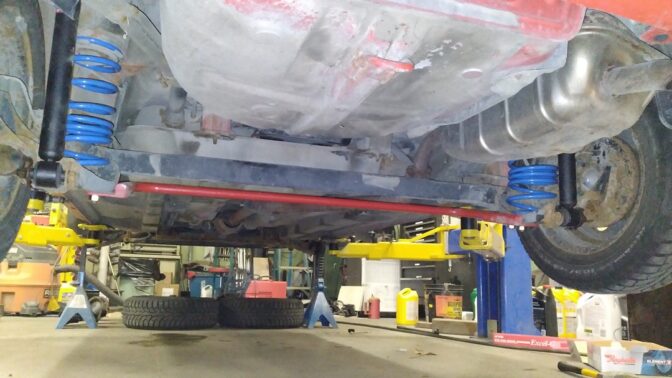
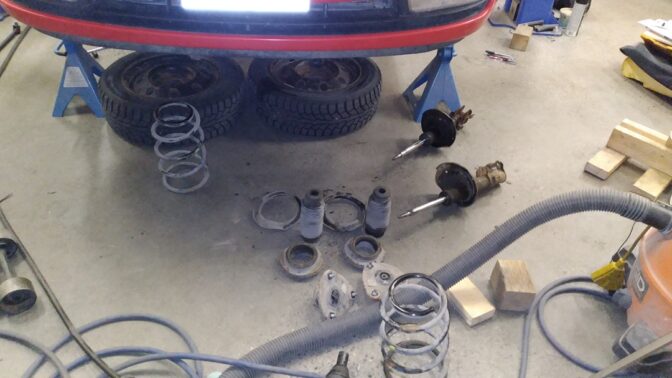
Front and rear I installed Raybestos brakes, KYB shocks, and installed Manzo lowering springs and my own 7/8″ rear sway bar (it was Fun, but not Hatchet Murderer Fun).
New KYB’s arrive Monday, but in breathless anticipation, I got ready for them.
Also put in a fresh O2 sensor to maximimize fuel economy:
WIDENED STEELIES
These were initially made for my “Angry Accent,” but I made a wider set for it.
I don’t want mags. But I do want some decent tires. This car came with the base 175/70R14, but a factory option was a 195/55R15.
I want 15″ steelies, but they only come in a 15×6, and I really want a 15×7, and I really want the wheel lip to come right out to the fender edge. Nobody makes those. So….
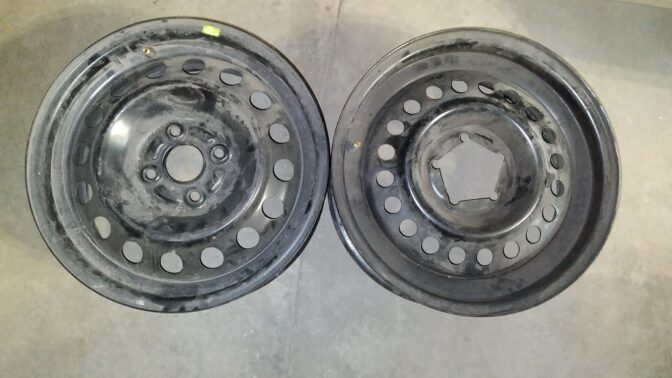
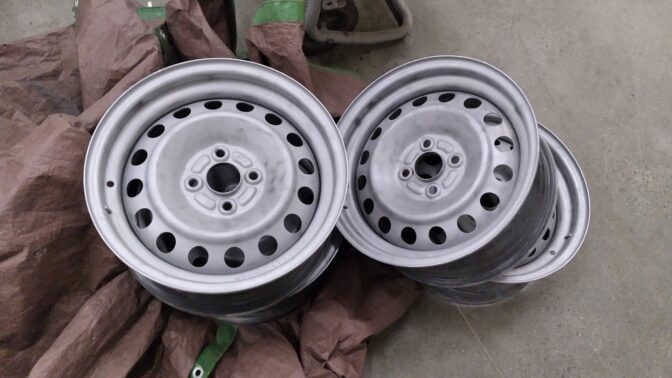
I found a set of 15×6″ steelies.
Was going to use both of these to make a wider set, but as you can see, the dropped-centers are different sizes.
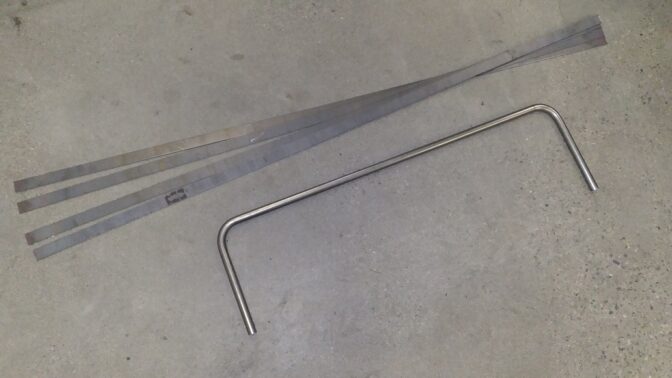
I had Metal Supermarkets cut me some lengths of 12ga sheet steel to 1.065″ (to account for the kerf), which I will roll into hoops. Sway bar pictured here for giggles as well.
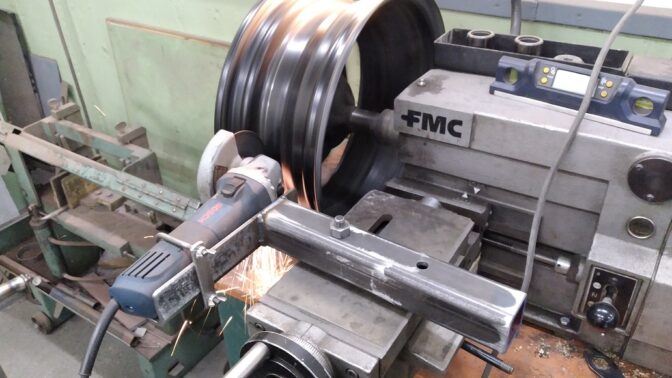
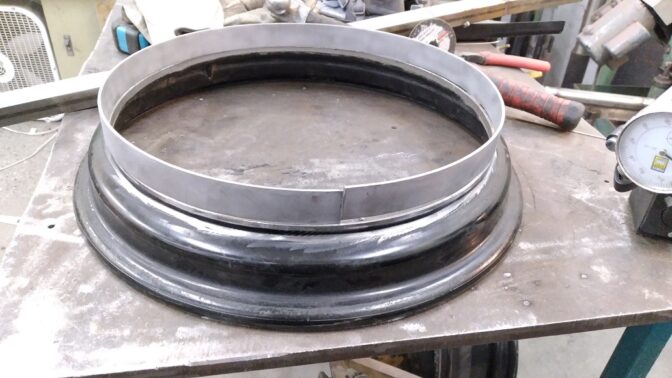
First step, fabricate an angle-grinder mount for your brake lathe. We all have brake lathes, don’t we? If you zero the dial once it contacts, the wheel is only 0.105″ thick. Takes the guesswork out of how deep to cut. I’m widening the outside, you could certainly do the same and cut the backside off to widen wheels inboard.
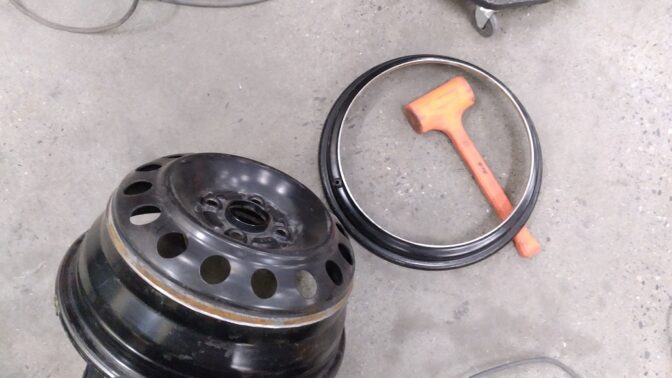
Bash the outer lip off with a hammer.
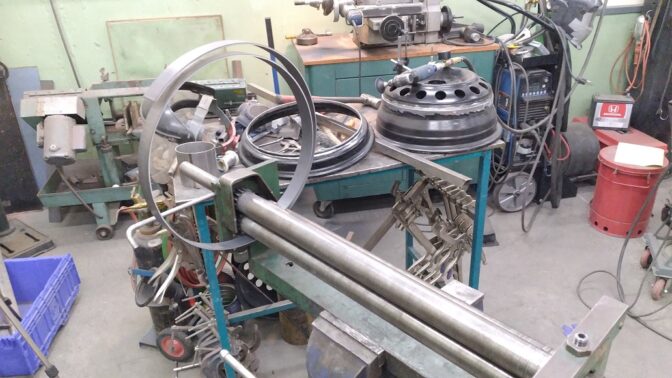
Roll the strips to a decent curve with your handy slip roller. I pinched this one from work. You’ll need to cut off any excess. Try not to roll a cone.
Place the new band onto the hoop, tacking in place, matching the curve, making sure everything is perfectly aligned.
Then check, check, re-check, and check again that the new banded lip sits correctly on the rest of the wheel and doesn’t wobble or do anything drunk. In the immortal words of Eminem: “You only get one shot.”
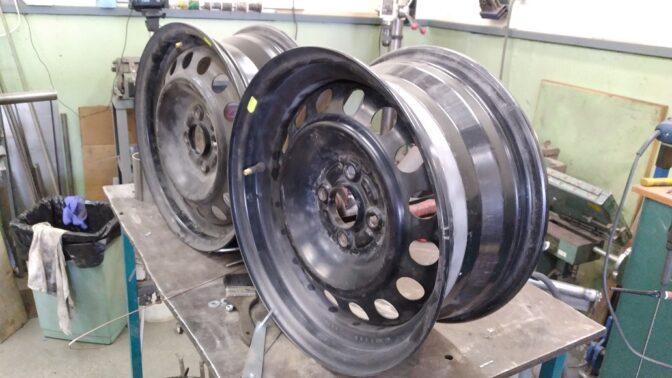
This is just tacked together. 15×6 on left, 15×7 on right.
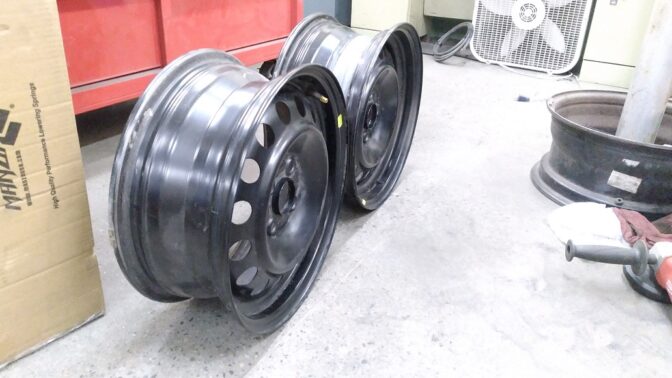
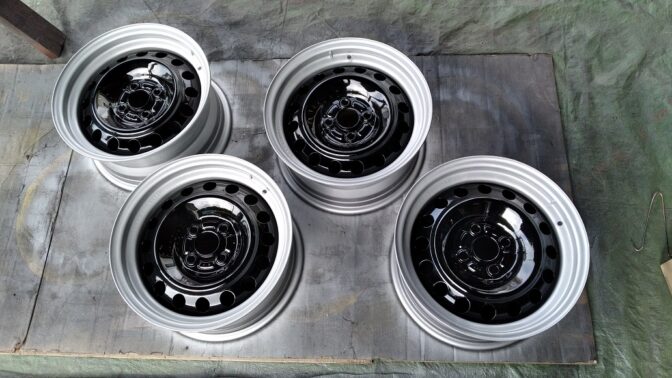
Fully welded. 6″ in front, 7″ in back, same centers:
Third one almost done; boy this is a crap load of work:
I fret so much about getting them perfect, and then I spin up an un-cut wheel and think “why am I worrying so much!?” The originals aren’t all that great.
Blasted and ready for primer:
And some PPG DelFleet paint:
Everyone needs a “How To:”
RUST
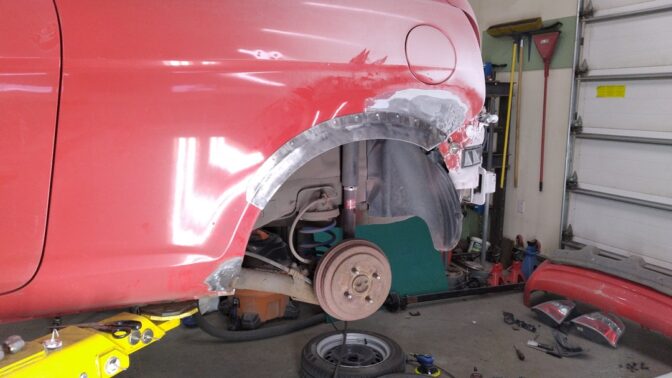
Finally cutting into it.
Looks like the left rear corner was stoved in at one time. Healthy dose of “cave and pave” in there, with a Rutland/Surrey size can of bondo.
This time, I’m trying my hand at 3M Panel Bond, and gluing patch panels in place.
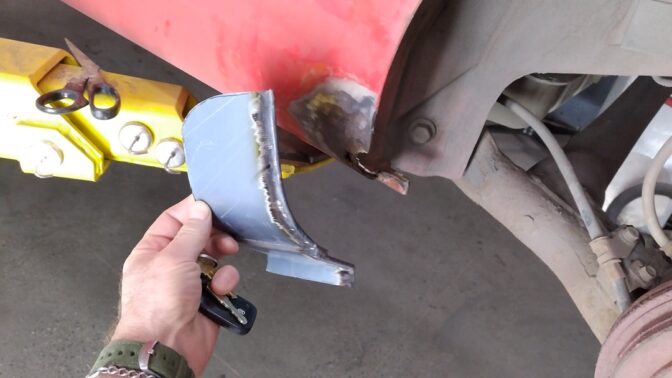
I fabricated inner and outer fenderwells, as well as bottom corner of the rocker. Patched fab’d from Toyota Corolla roof:
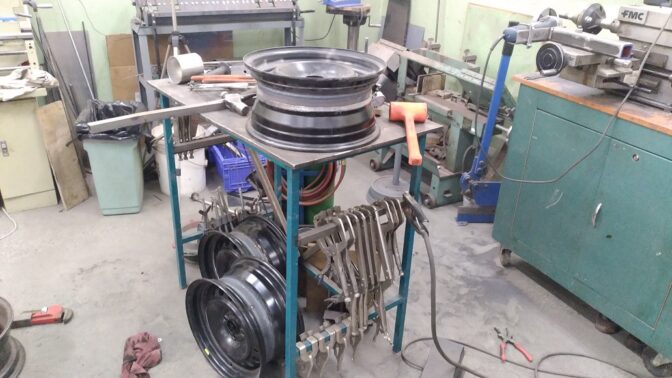
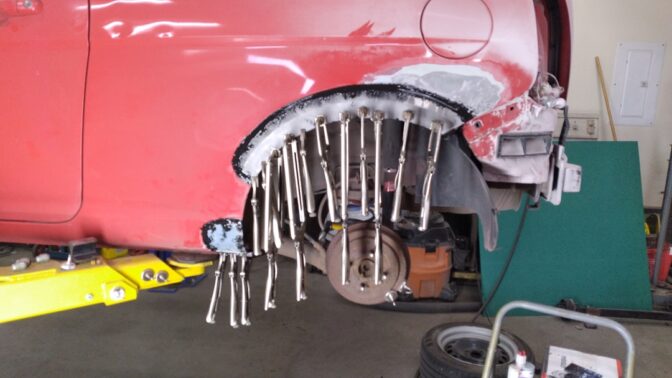
Glued and clamped. I need more clamps:
Kitty Hair:
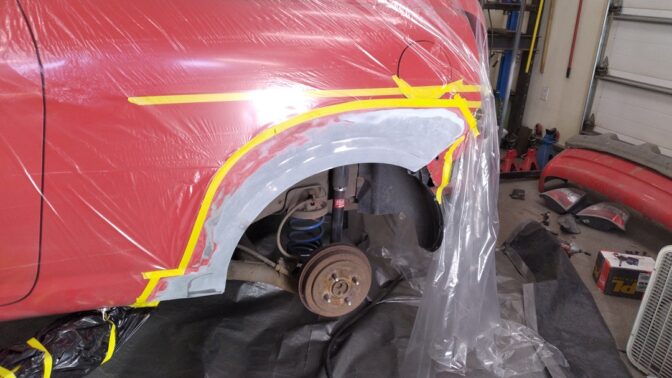
Epoxy Primer:
“Slicksand,” my favourite skimcoat:
Blocked and re-sprayed Epoxy.
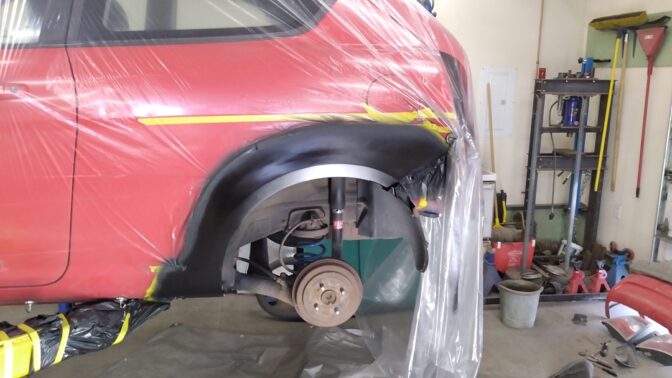
Base sprayed.
Clear sprayed.
Reassembly tomorrow. Sanding out ALL my defects to follow. And there ARE defects. I hate bodywork.
And now in video format:


