[ Start ] [ 1 ] [ 2 ] [ 3 ] [ 4 ] [ 5 ] [ 6 ] [ 7 ] [ 8 ] [ 9 ] [ 10 ] [ 11 ] [ 12 ] [ 13 ] [ 14 ] [ 15] [ 16] [ 17 ] [ 18]
[ Parts List ]
In Which We Make It Run!
Best to start another page, the last one was getting long.
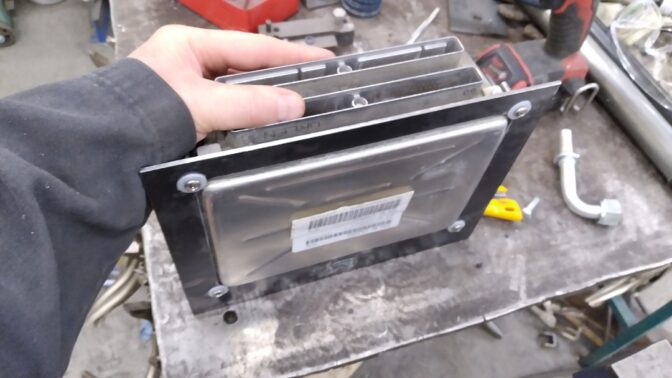
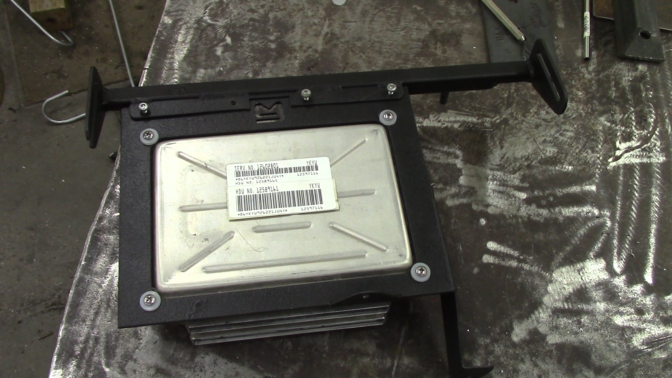
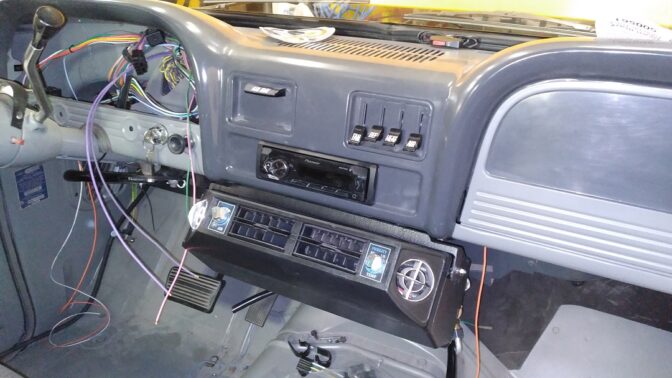
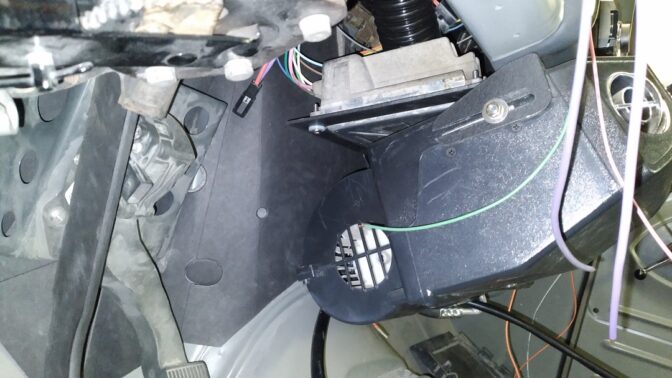
PCM is mounted behind the stereo in the middle of the dash. I made a bracket that works with an under-dash AC bracket I made, all using existing holes.
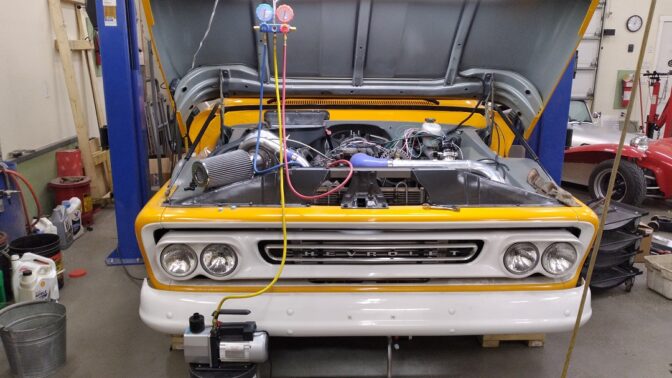
A/C is all connected, and currently (finally) holding a vacuum (the exceedingly cheap LS AC adapters were pretty junk, and the seals they came with were garbage). Frankly a surprise, since I cut and welded many of the hose ends to have the angle I wanted.
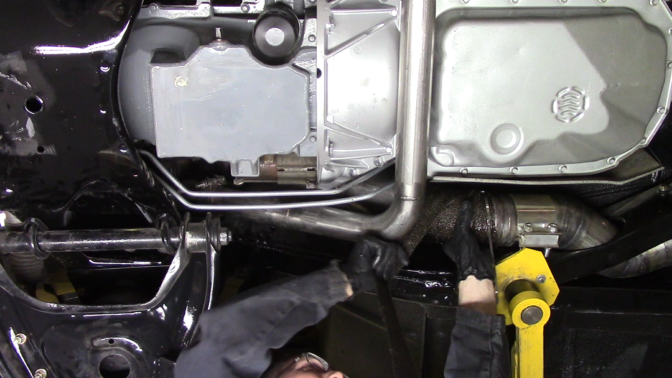
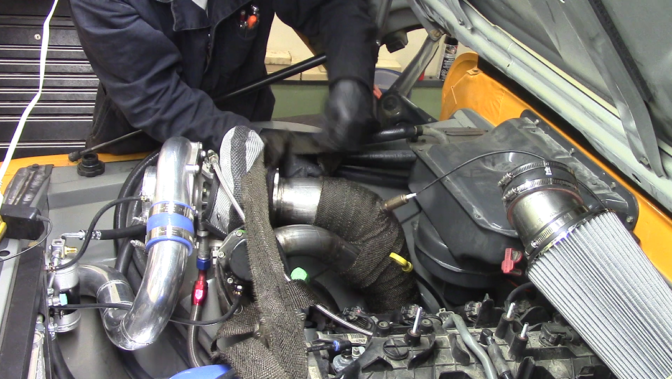
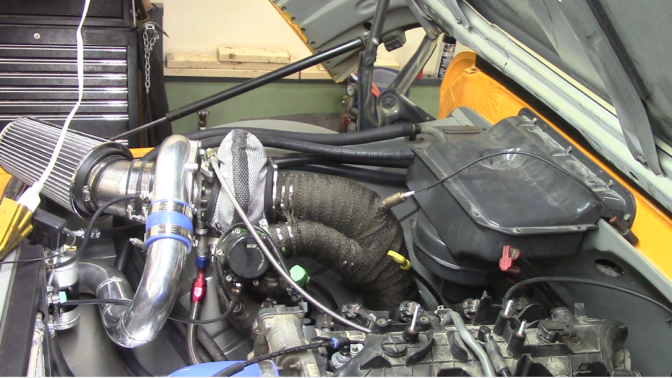
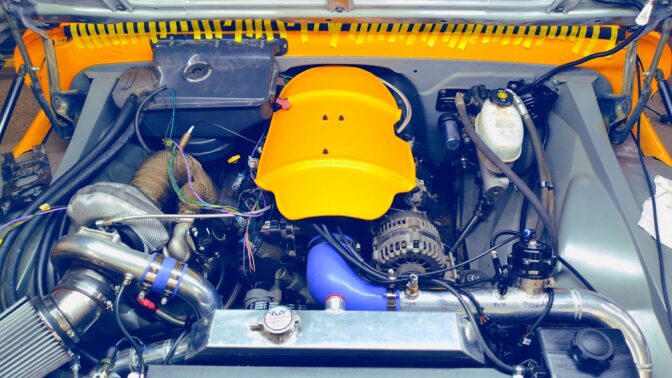
Header wrap and a turbo blanket. If you’ve ever done insulation, you know how this feels on your skin. It took a full 50′ roll for the down tube.
Ran the wires into the cab, had to cut the factory wiring opening a bit larger. I will likely use one of these split seals.
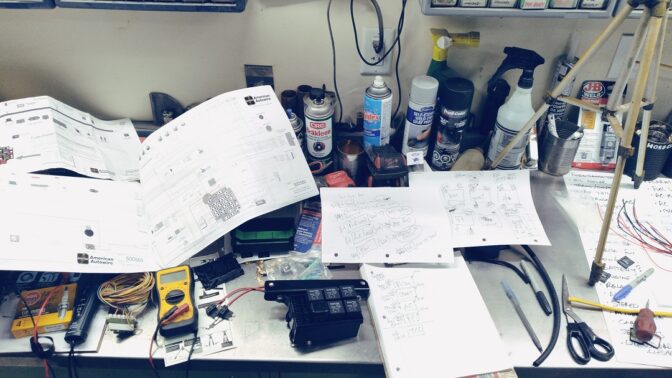
Chugging my way through details of the wiring
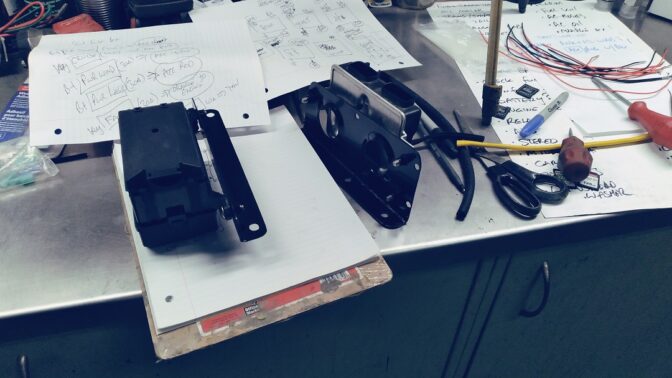
I made brackets that will attach to the steering colum bracket mounts, one for a fuse and relay box, and another for the drive-by-wire module.
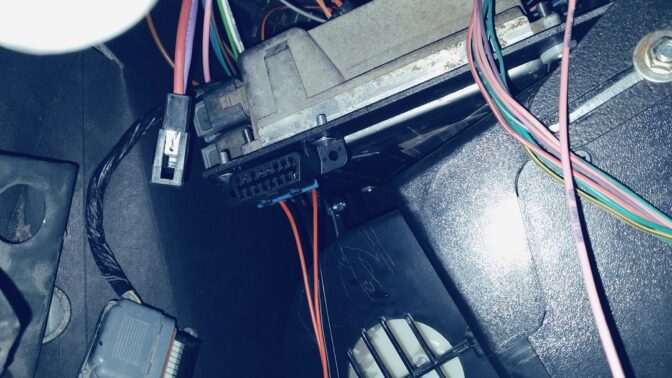
Also added the OBD2 port, accessible but tucked out of the way.
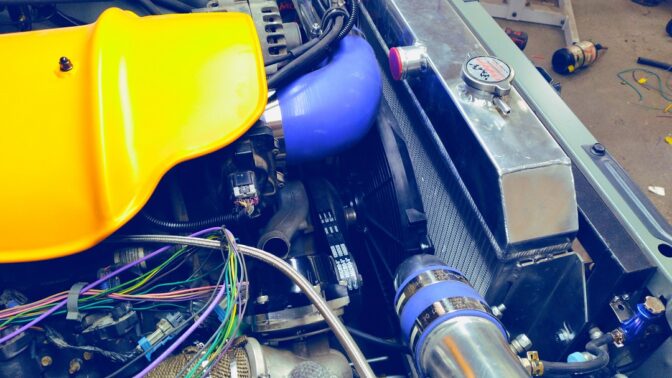
Rad and fan installed and wired:
Trial fit to feel good.
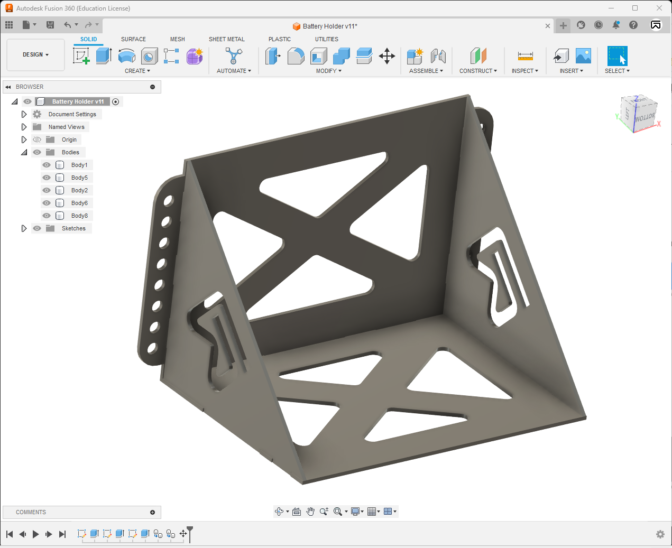
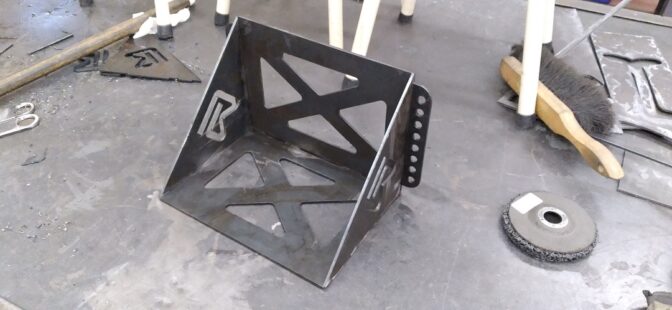
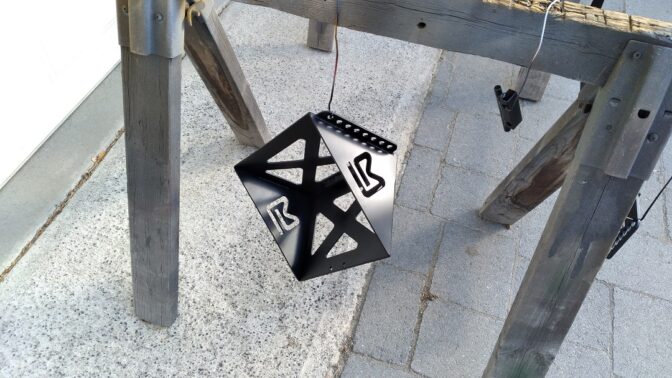
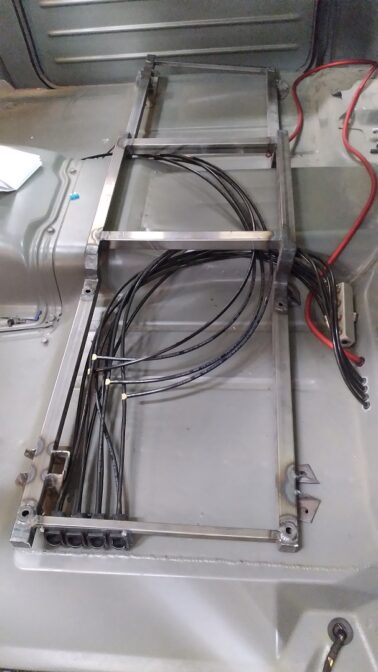
Finally decided on where the battery is going to go. For that, we need a mount!
First, in Fusion360:
Then we cut it out of steel:
Epoxy Primered:
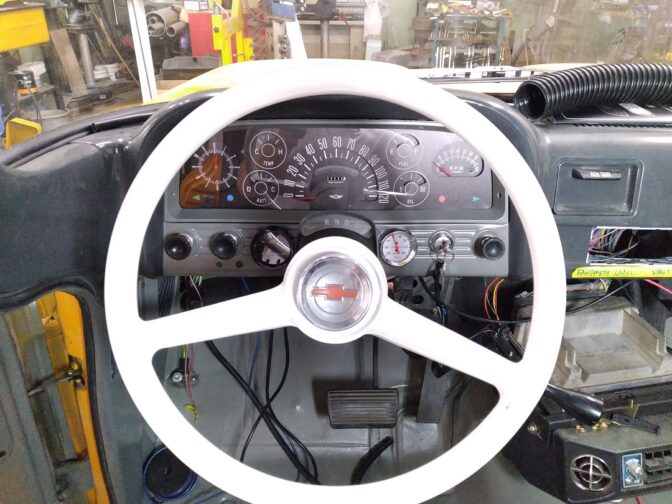
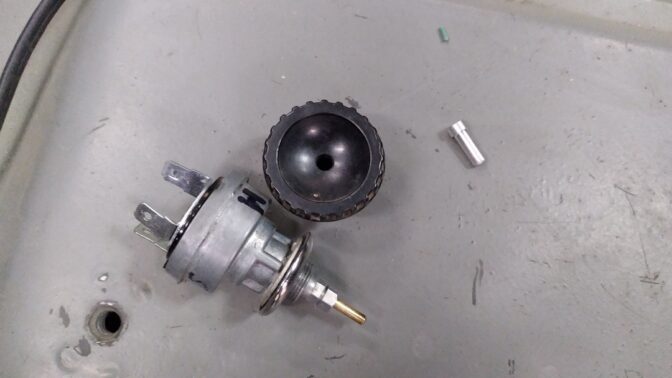
Also, the truck came with a later windshield washer equipped wiper switch. Except good luck finding the 60-63 knob with a button. So I made one out of the existing knob:
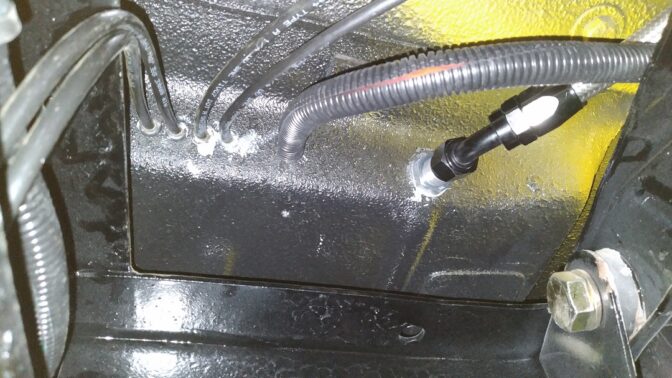
Manual paddle valves for reliability and simplicity. Modified an -8AN bulkhead fitting to be a bit shallower. Thge gray is etching primer over the drilled holes.
ADDENDUM: The brass Tee’s were later changed to PTC Tee’s for more flow (marginal/negligible improvement in air-up speed):
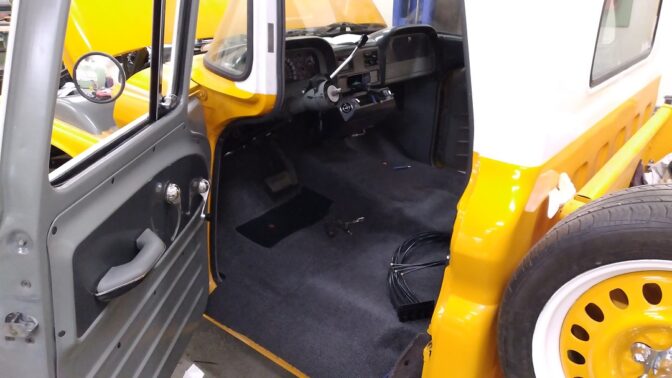
Auto Custom Carpet (ACC, probably from Rock Auto) going in:
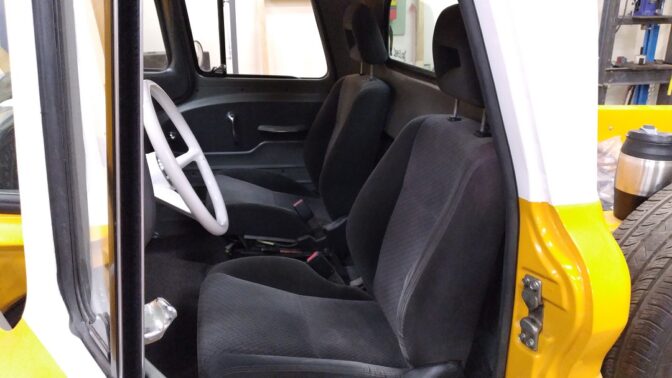
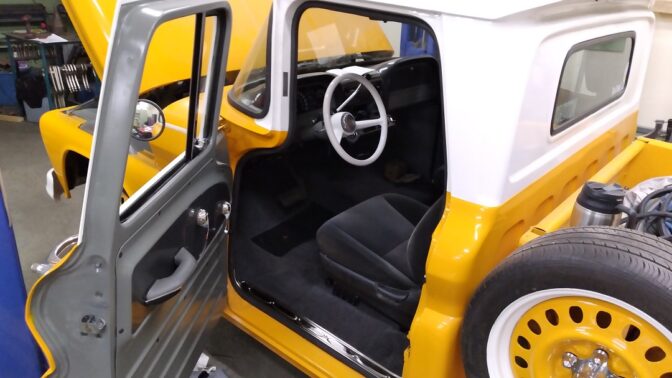
Seats in, just need to fabricate the jump seat. Also went back to the Precision door seals, but spent a LONG time trimming out the three extra grip ribs on the inside (outside) part of the seal to make the doors close better.
I notice I’m having problems with my camera here.
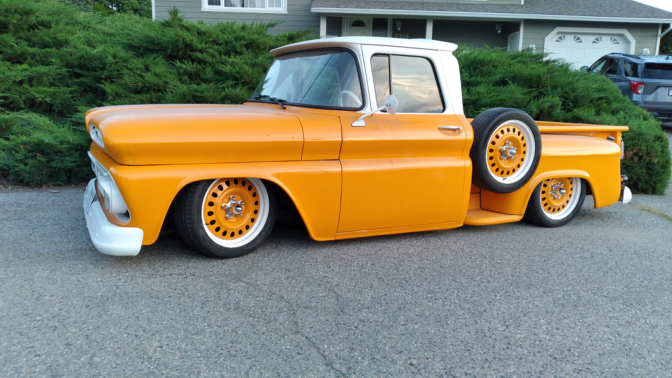
Part of it, is this colour does not photograph well. Part of it is the camera I’m sure. Or Operator Error.
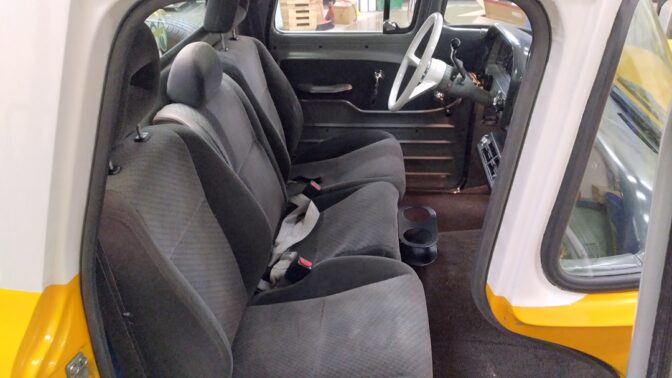
Buckets are from an ’04 Honda Civic. Center seat was made from the Civic’s back seat. I made a cup holder.
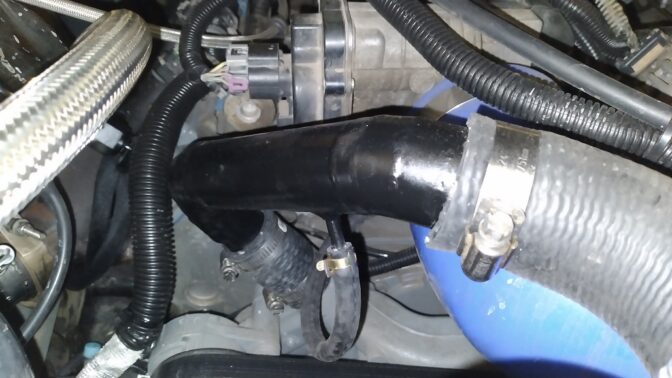
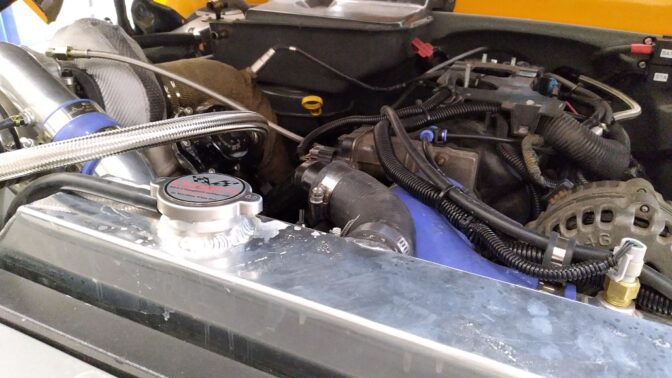
I spent an hour or so at LordCo staring at their wall of hoses with a tape measure and bent pieces of wire, trying to figure out how to cobble together some rad hoses. There isn’t anything off-the-shelf- for THIS engine, in THIS position, in THIS chassis, with THIS radiator, that I could find. In the end, I just used some connections and fabricated hoses. The lower is actually just a coupler to join two hoses, the upper is more metal than rubber.
Notice I added the LS bleed connection to the hose. Yes, I’m running coolant through the Throttle Body – this is a driver don’tchaknow. I later bought a 4-port LS Steam Vent Kit, but have not installed it. I may put it in when the intake comes off (undoing all the fuel and wiring just for this didn’t seem worth it, plus the interwebs are undecided whether the kit is even valuable at all).
MAKING IT RUN!
DAY 1
Well……
First I put half a tank of 94 in it, and jumped the fuel pump to see if there were any leaks. One baby leak which was fixed by tightening the AN fitting at the regulator.
Next I tried to pressurize the oil system of the engine by using a hand-pump-pressurized chemical sprayer. This got the gauge to move a wee bit but only by ballooning the sprayer with compressed air (probably 125psi). I figure that shows it can make pressure, so no sense tempting fate and wearing 5L of 10W30, I poured the remaining 3L in.
Then I set up VCM Scanner (HP Tuners) to log (what was) the Fuel Tank Pressure – this is where I tied in my Wide-Band. Odd that the fuel pump didn’t prime when the key was turned on….. Interesting. And VCM Scanner couldn’t read the truck. Nor could VCM Editor. Nor could my OBD scan tool. Nothing could connect!!
What. The. Heck.
So after about four hours of unplugging things and testing things, and worrying that I might have shorted or fried something, I found the problem:
SOMEBODY unpinned the B+ supply from PCM blue connector Pin 20, coiled it up, labeled it “Pin 50 Unused” and put it with the others.
I don’t know who that somebody is, but I suspect it’s my wife’s husband. What an idiot.
So it’s 11pm, the dash is all back together again, the fuel pump primes like it should, and my scanners can talk to the PCM.
Tomorrow, ladies and gentlemen, tomorrow!
DAY 2
Well……
It wouldn’t crank. Not even a click.
The long and the short of it is the way I wired the Neutral Safety Switch, and the way the Neutral Safety Switch needed to be wired, were not the same. The more I looked into it, the less I knew what I did.
Starter Relay trigger+ comes from NSS in transmission, which supplies + to the relay. Relay is triggered by the PCM grounding it on one pin, when it sees a cranking signal on another pin. I didn’t have that. I fixed that. This one took me a WHILE to fix.
THEN…….
It would NOT crank when you had the key on “start,” but would just cough as you let go of the key and let it return to “run,” but only for a fraction of a second. That one took me a smaller while to resolve. I had the starter relay source coming from an “Accessory” source, not a “Key On” source. Not sure how that happened, but I re-pinned my relay block and it would now crank.
BUT……
It would crank, fire up, and shut off after a second, often with an ear-splitting backfire. This, too, took me a WHILE to resolve.
One issue was that I apprently forgot to connect the cam sensor. This cured the hideous backfires.
Turned out the PCM wasn’t seeing the Drive By Wire “Throttle Actuator Control.” The Key+ source wire that comes into the TAC module was receiving no voltage. I don’t know where it goes into the harness, but it wasn’t Key+. I re-routed it to connect to my PCM resistor block. Now it sees the throttle!
EXCEPT….
Now it’s 10:30 at night, and I’m not a complete asshole to my neighbours.
EXCITINGLY……
I did find time to setup a graph in VCM Scanner that receives my wideband input (through the fuel tank pressure sender input), and calculate its error off the commanded AFR. I’m really excited about that.
It did sound good, and had good oil pressure, and oil is getting to the turbo!
AT ANY RATE….
Tomorrow, ladies and gentlemen, tomorrow.
DAY 3
DAY 4
Well…..
PCM continues to drop the TAC module connection. I got it to run for a significant time, but it kept disconnecting the TAC and then running like crap.
I did find that one wire is supposed to see the resistance through the brake light circuit, so I properly connected that, but it did not make a difference.
Really no progress to report….
DAY 8
I’m pretty sure it’s not the TAC module. Looking into the Pedal now.
I did take it for a drive around the neigbourhood. Feels tight, purposeful, sounds awesome. MUCH better with sound deadener and carpet inside. Made it to my street before the CEL popped up again.
Research is showing me that it’s very likely a pedal issue. Apparently a 2007 van PCM will NOT work with a 2006 or a 2008 van pedal. I have a 2008 van pedal which I tried, and it did NOTHING. I’ve been using a 2005 Silverado pedal, which isn’t working. Full throttle at the foot is 165% throttle on the PCM!? I’d drop carrier too.
DAY 10
I got a brand new GM 2007 van pedal. The van pedal (just like the ’08 pedal I have) has a 0-5V sensor, and a 5-0V sensor. If I re-pinned it to have two 0-5V, I had the same issue, leading me to believe maybe it IS the TAC module. I had gone to the local GM dealer, who told me that I needed TAC module #12590008, of which I have two, and is for everything BUT van. Rock Auto says a 2007 Van needs TAC module #12590009. It’s on the way.
And, just for motivation:
DAY 12
The 2007 Express Van TAC module arrived. I had to re-pin the van like a truck to make it work, but it did not drop carrier. Well, there was an issue with some aggressive throttle, where it popped a P0068 code which turned out to be the computer was seeing a lot more air than it was expecting, and went “nope!” I added 15% to the Calculated Airmass and that went away.
Took it for a decent drive around town. I didn’t see much boost, but did get some blow-off-valve flutter which is cool. The datalog shows the computer is pulling a lot of timing at higher throttle. I suspect this is part of the Torque Management and Traction Control. Since there is no Traction Control, I zero’d the TCS Method table. and we’ll have a go tomorrow.
Lots of leaks I need to fix.
DAY OH GOOD HEAVENS… 28?
Fixed a trans oil leak
Fixed one oil leak (wondering if the shortened pan just doesn’t actually hold 5L well?)
Bought a (doesn’t actually fit) 60-63 heater core from Rock Auto, cut off one offending feed tube, welded the hole shut, and attached it properly and now I have heat. Nobody actually makes one that fits.
Fixed a broken connection to the fuel pump relay (left me stranded a block from my house).
Disassembled the AAW headlight switch and “adjusted” the internal circuit breaker to actually feed all four Hella H4/H1 headlights.
Re-scaled the engine tune to get a better spark map (I was running close to the end of it at 4psi boost) – see what to alter in “Parts List” link above.
Cut 1/4″ off one side of the rear cab mount bushing washers – the were rubbing the frame and squeaking something awful.
And….
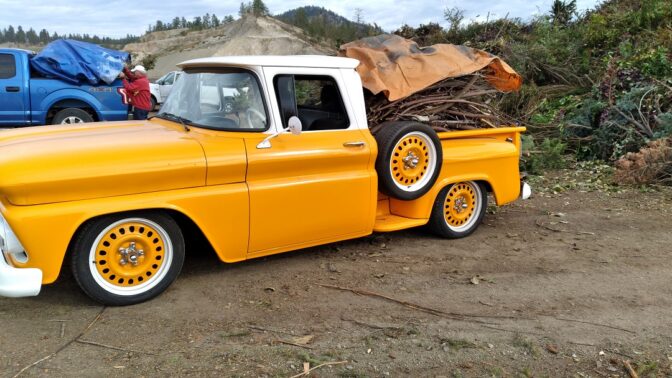
Took a load of prunings to the dump:
TUNING UPDATE
So I’ve learned a couple things.
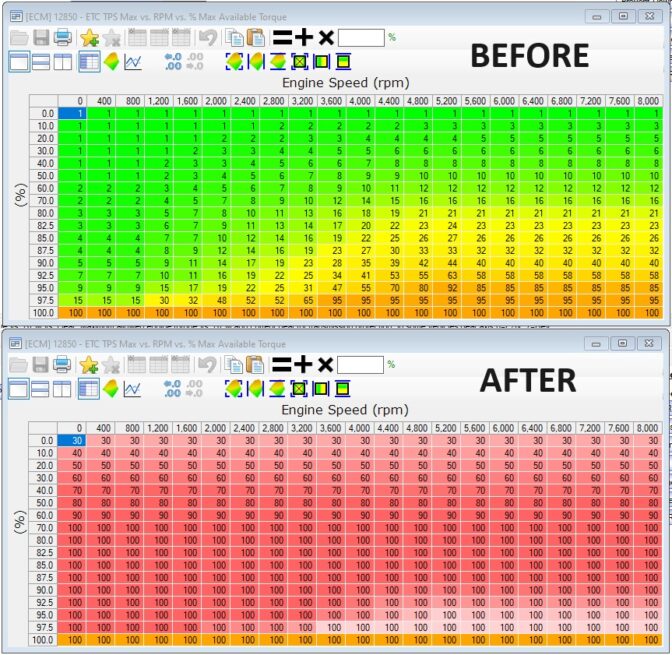
I’d zero’d the Traction Control tables, but it still wouldn’t haze the tires at will.
There is an another table that looks at how much throttle you think you want, and how much throttle the PCM is actually going to give you. It’s actually pretty low. Most people make the whole thing 100% everywhere, but I scaled it a bit different; I want to see how close to the edge of traction can I go without crossing it.
This was a lot more fun to drive. Decent traction, plus a little bit of giggles.
I will likely add more.
I’ve also been playing a lot with cold start and restart. Since the “Re-Scaling” I’ve had to add more fuel on higher IAT restarts, and increase the Decay Step on After Start. I also added quite a bit in the Heatsoak Enrichment. It tends to go pretty lean on restart, and needs a bit of help.
Also, as I’ve been tuning it and getting more confident on the spark I’m running, I’ve been upping the boost. I’m up to 6psi because boy howdy it gets boring fast.
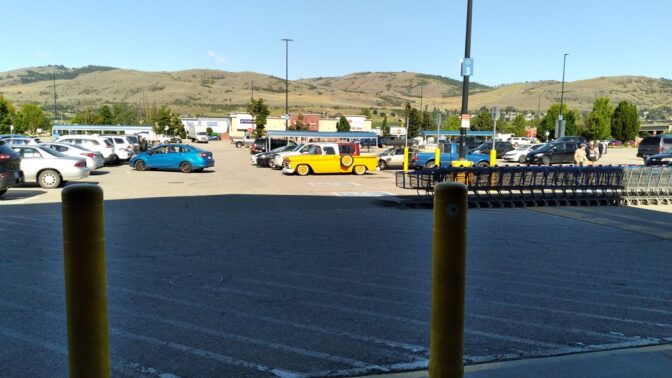
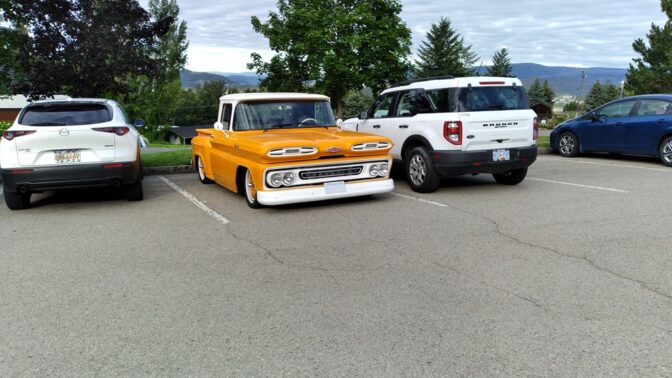
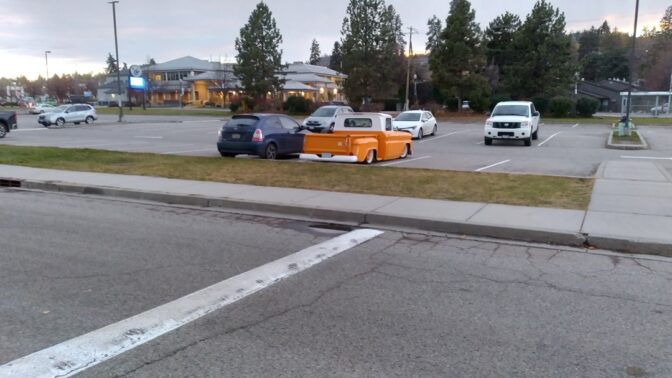
It’s been fun. LOTS of thumbs up, positive comments, and people taking pictures. I love it!


