This is new, I’m still creating this page.
Controls
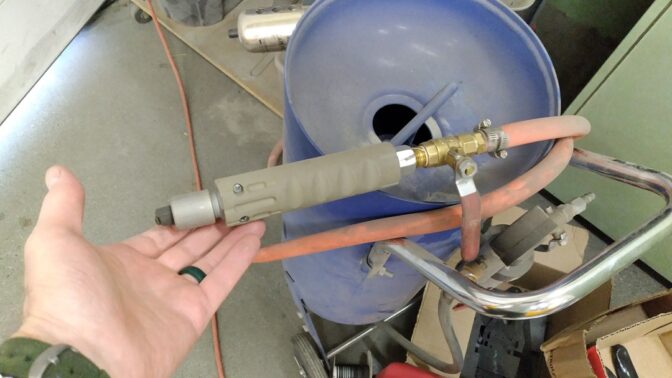
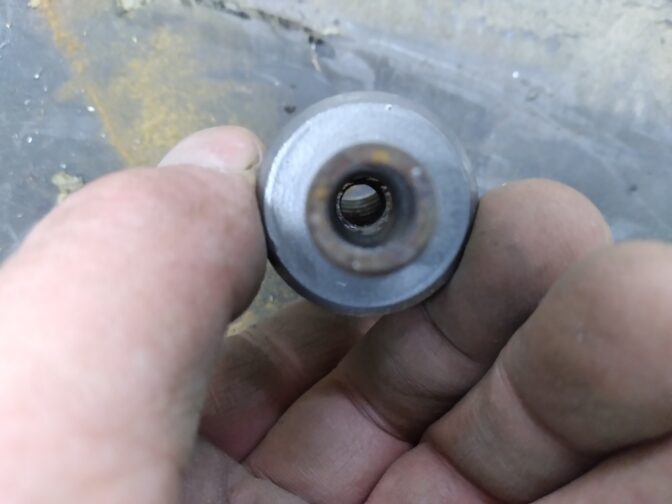
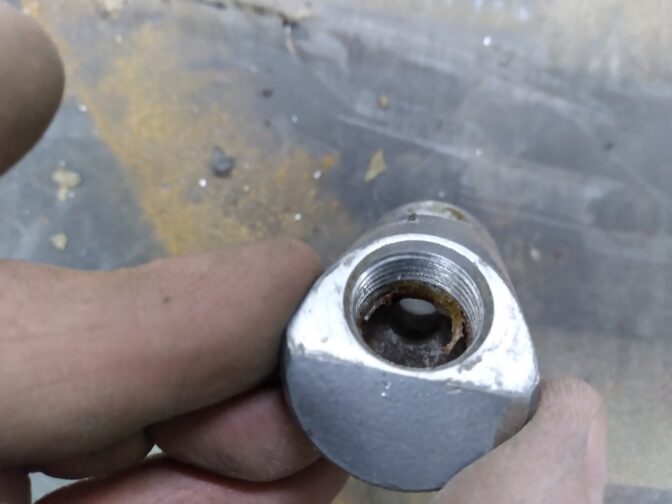
Changed the Deadman Valve to a ball valve. Makes handling the nozzle SO much easier. Also, since the valve is closed a whole lot less now, the compressor doesn’t “catch up” as often, which actually makes it run cooler (startups draw a huge amount of current, which creates heat in the motor).
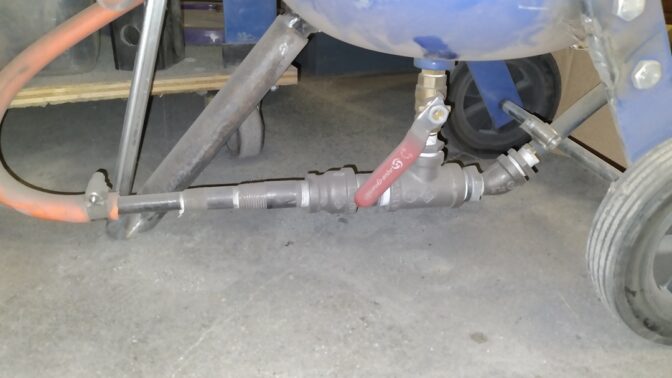
There is a special ball valve (came with the blaster) just to the right of the water separator in th image above. I typically run that full open. The valve on the nozzle should be full open; it will slowly erode away in use just from opening and closing while blasting.
Compressor Life
While my compressor is rated at 14.5cfm and 100% duty cycle, the compressor motor would go into thermal protection before too long.
Solutions:
- Turn the tank pressure down (lower pressure = more cfm)
- Adjust the “spread” between ON and OFF, so the compressor runs to a lower pressure before it turns on again
- Run the smallest tip you can buy (2.0mm), which will require a finer abrasive (30-60 grit crushed glass is what I use).
Abrasive/Air Tee
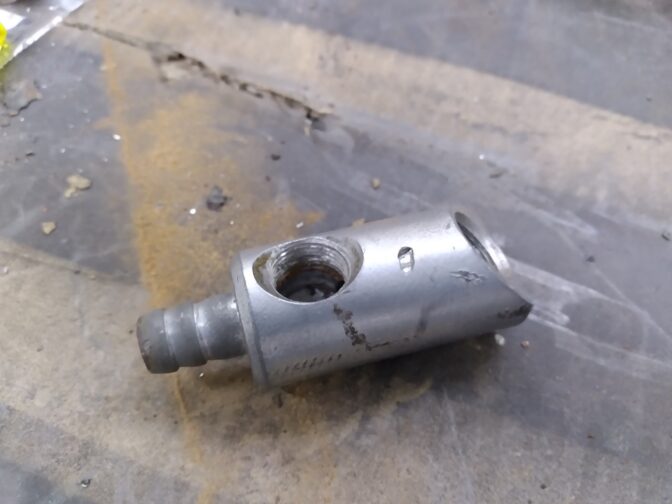
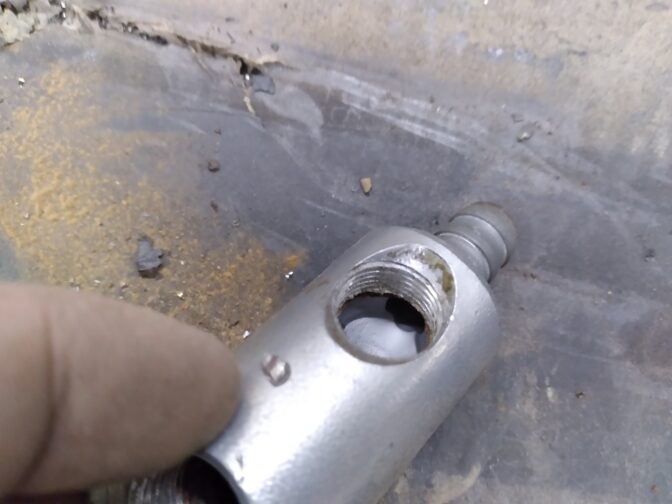
Original is fairly restrictive:
I replaced the original Tee with a fairly large Pipe Tee with hose barbs. Much better flow capacity inside; much less clogging. I later joined a series of pipe nipple reductions to make the flow to the hose a nicer flow transition (not sure it was worthwhile…).
I typically run the lower ball valve half-open. You will find that “happy place” on your own machine.
Third Leg
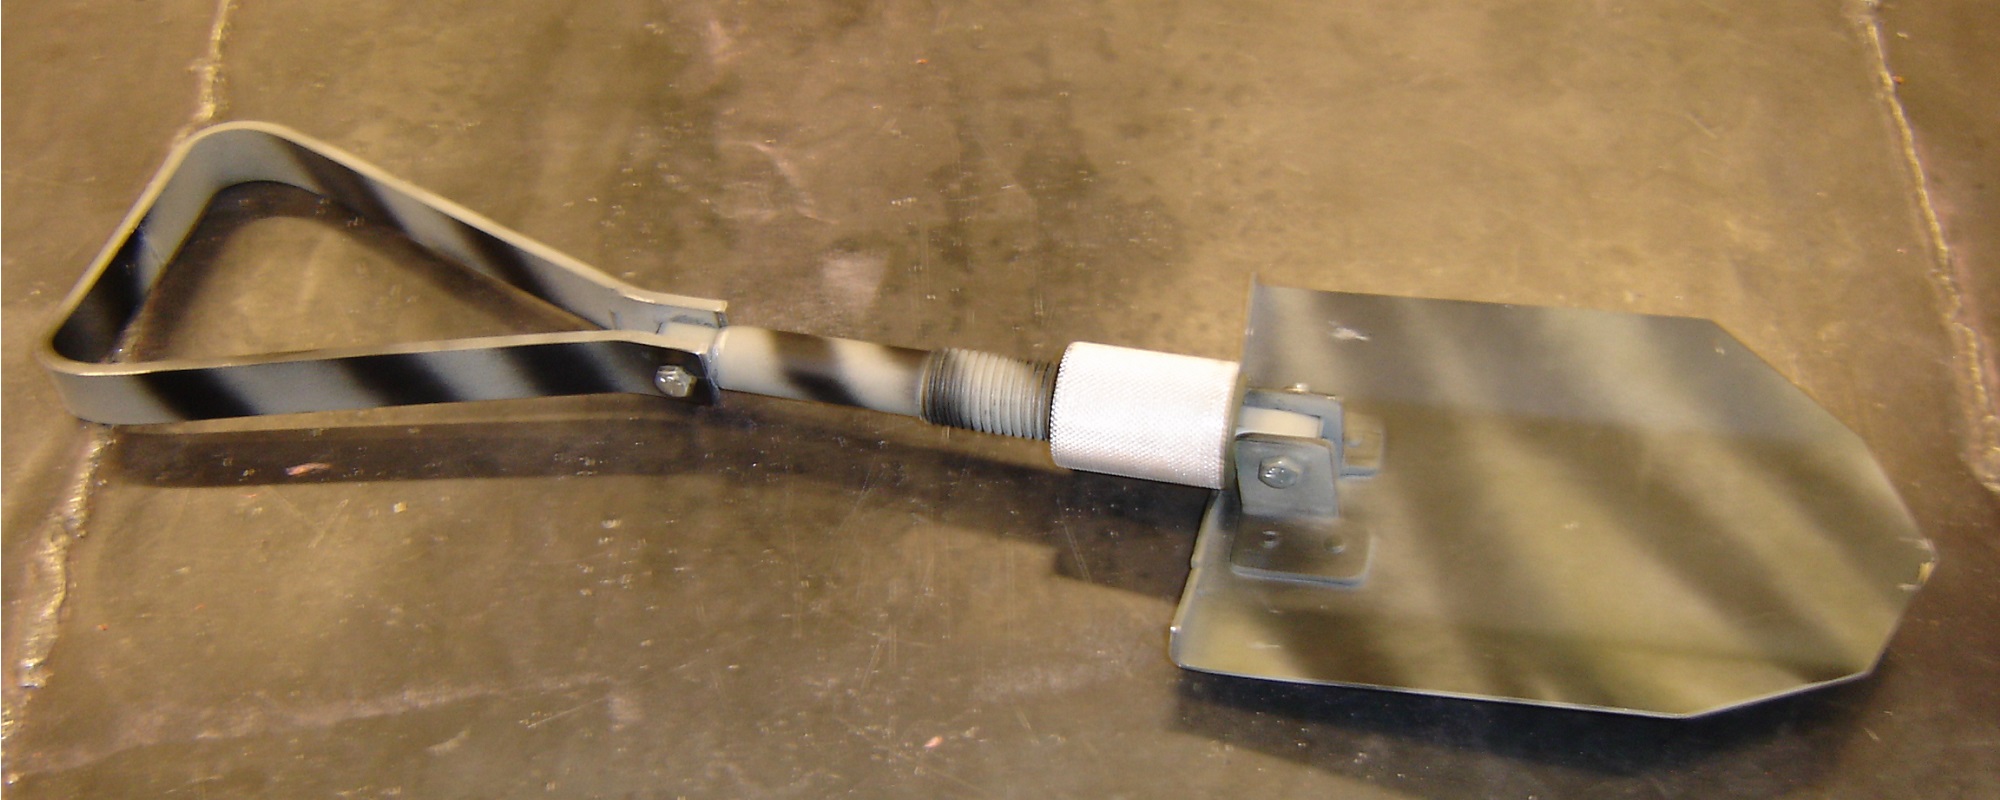
Original is the thinnest gauge metal on earth, and broke because I would “tamp” the unit to knock the abrasive off the walls inside to blast a little bit longer. Made from 3/4″ Pipe, and secured with a 10-24 machine screw and nyloc nut.
And then I welded a section of 1/2″ square tube from the leg to the pot itself, as I broke it again. See picture above.

